Set up the hardware
Before you can work with the board, here are a few things you must do. You'll need to set up the Phytec phyBOARD NASH. For more information, see the Quick Start Guide at https://download.phytec.de/Products/phyCORE-iMX93/Quickstart/Quickstart_phyBOARD-Nash_iMX93_L1071eA0.pdf on the Phytec website. The following is an overview of how to set up the phyBOARD-NASH.
Connect the hardware
Use only the DC power supply provided with the board. Use of any other power supply may permanently damage the board.
- Connect the USB Debug port X37 to the USB port on your host computer with the USB type A to type-C cable.
- Connect the Ethernet cable to the Ethernet Connector X10 on the board.
- Connect the provided DC power supply to the board.
- Press the SW2 Reset switch on the board to restart.
- On a Linux host, you can check which port is the host serial port by looking at what port appears when the cable is inserted. To do this, type the command:
$ ls /dev/ttyUSB*On a Windows system, open the Device Manager and expand the
Ports (COM and LPT)
section. Then, look for a COM port named Gadget Serial or USB Serial Port. The connection is physically made via the Type-C from the board to your host computer. You must also have installed the COM Port (VCP) Driver (see theBefore You Begin
chapter in this guide). - Connect to the COM port using your favorite terminal program with these settings. :
- Baud rate: 115200
- Data: 8 bit
- Parity: none
- Stop: 1 bit
- Flow control: none
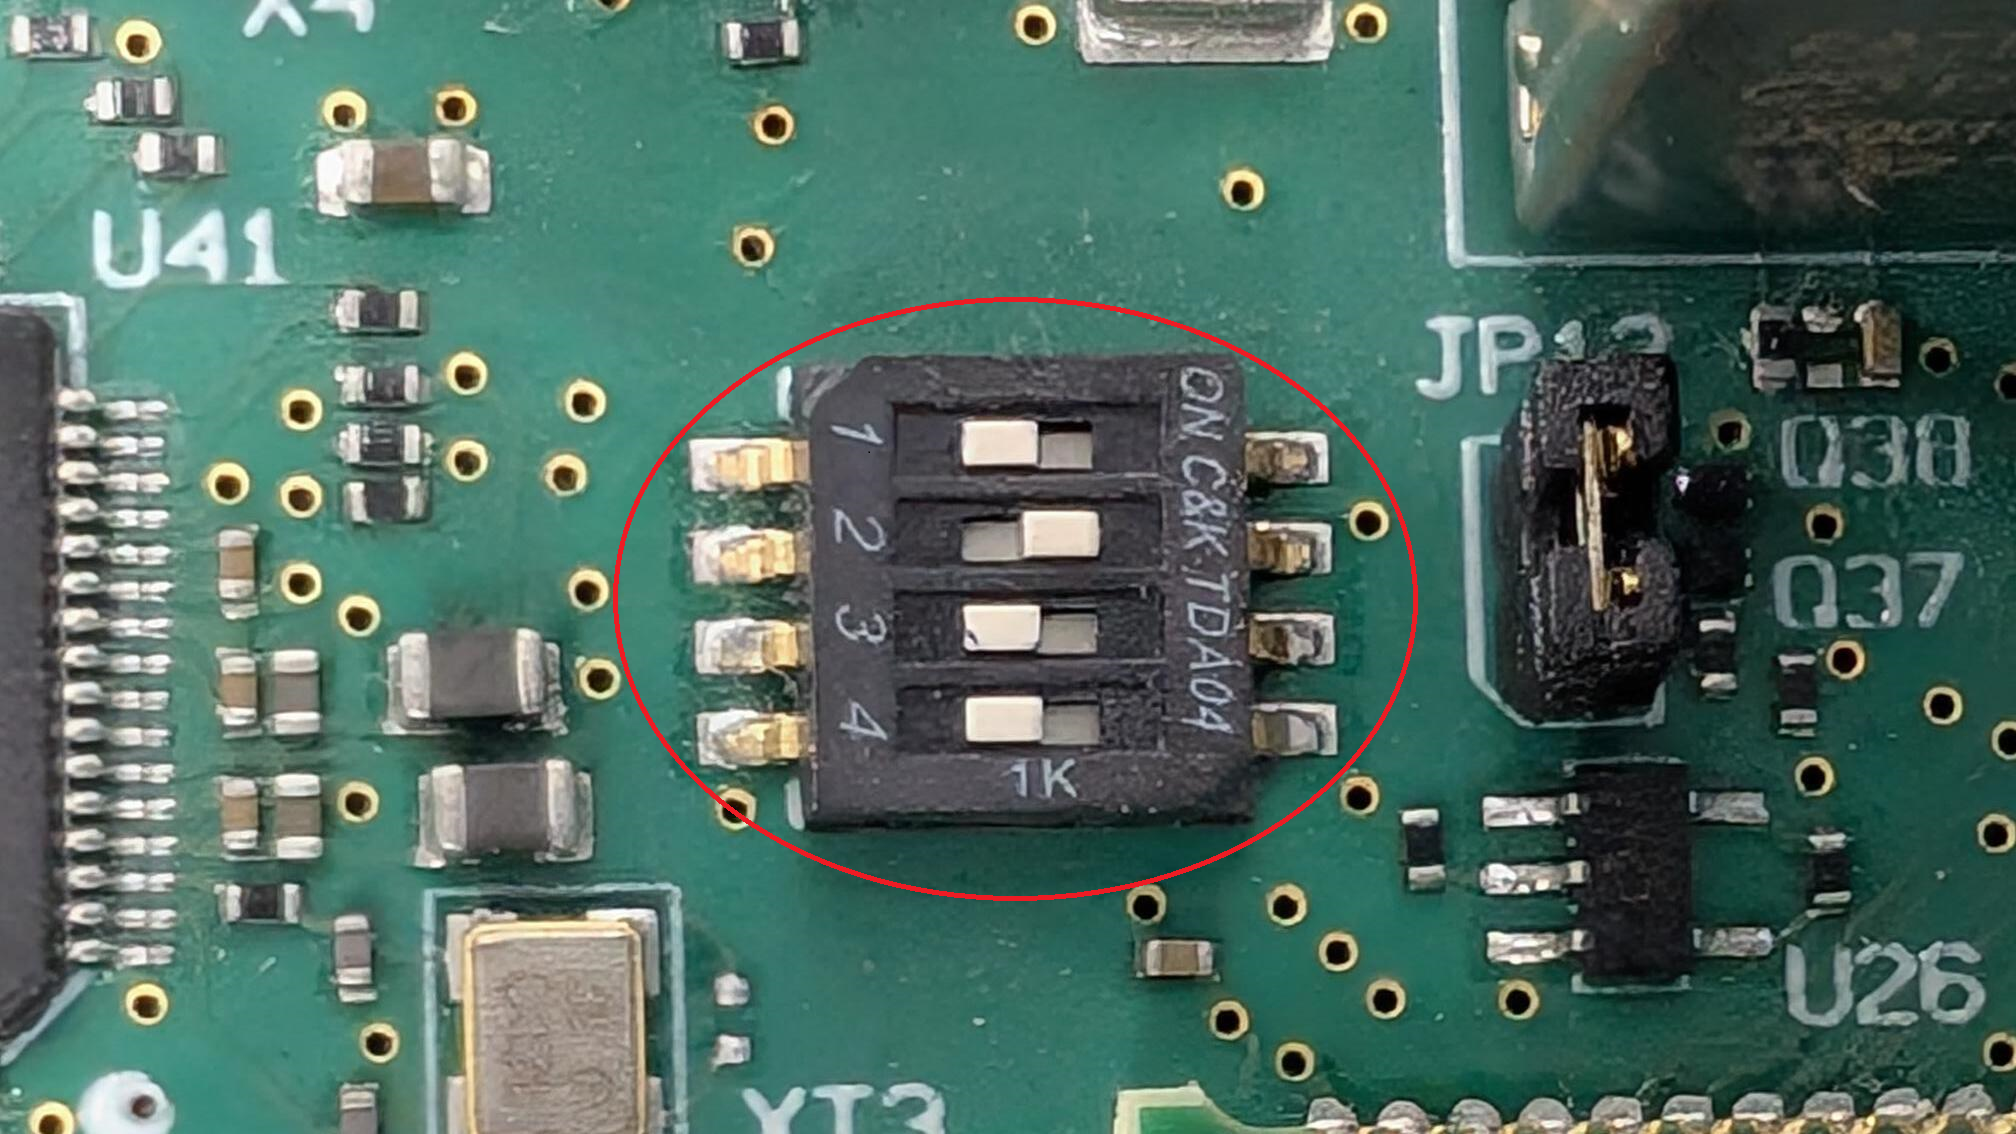
Set DIP switches on the phyBOARD-NASH
While booting the board, U-boot is loaded from the MMC i.e. microSD card, so keep the boot select switch to boot from microSD card position. On the phyBOARD-NASH, the boot select switch is SW3.