Configuring an existing project
You can configure an existing non-QNX project using the QNX Toolkit.
Creating a projectsection.
Generating the .vscode configuration files
You need to use this option if you disabled the Auto-configure feature. In that case, when you import a QNX project into your VS Code workspace, there are no configuration files in the folder. Follow the steps below to generate .vscode configuration files for the imported project:
- In the Explorer, right-click the project folder.
A menu opens.
- Hover over QNX to expand the menu options.
- Click Generate .vscode Files...:

The QNX Toolkit generates the files necessary to build and run the project.
Configuring for IntelliSense
IntelliSense is a VS Code tool that generates code completion suggestions while you are editing code.
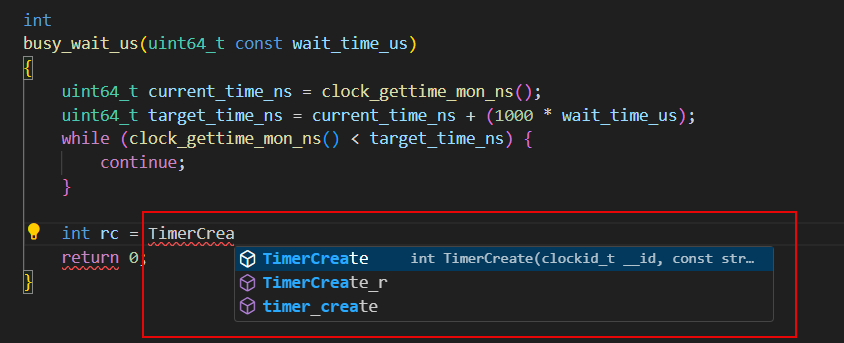
Currently, the QNX Toolkit integrates only with the C/C++ extension from Microsoft. Refer to the C++ extension settings reference and IntelliSense for cross-compiling pages in the VS Code documentation for details.
When you create a project, the QNX Toolkit uses qcc to automatically configure it for IntelliSense. There are two levels of IntelliSense settings:
- The c_cpp_properties.json file that you can put in the
.vscode folder
and
- The global defaults
To modify Intellisense settings in your project's c_cpp_properties.json file, follow this example:
{
    "version": 4,
    "configurations": [
      {
        "name": "qnx",
        "includePath": [
          "${env:QNX_TARGET}/usr/include",
          "${workspaceFolder}/**"
        ],
        "compilerPath": "${env:QNX_HOST}/usr/bin/qcc",
        "defines": [
          "${default}"
        ],
        "cStandard": "${default}",
        "cppStandard": "${default}",
        "intelliSenseMode": "${default}",
        "configurationProvider": "qnx.qnx-vscode"
      }
    ]
}true
by checking the box as shown: 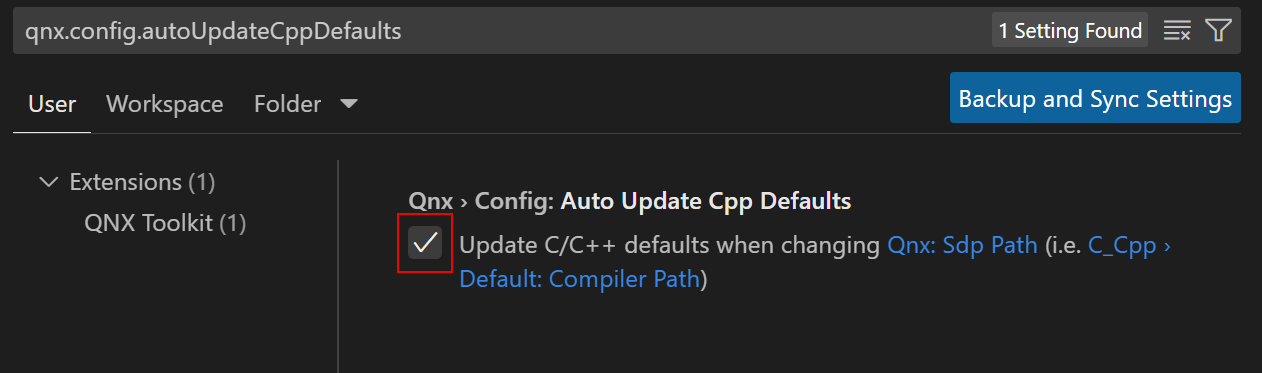
Then, the global defaults update every time qnx.sdpPath changes.
Porting a Momentics IDE project
You can use the QNX Toolkit to perform migration of your projects from Momentics IDE to QNX Toolkit. The most straightforward method is to map each Momentics IDE project to a folder and then store the set of projects in a multi-folder workspace. Follow the steps below:
- In the Eclipse workspace, select the project you want to port.
- Create a new folder to serve as the default projects root.
- Configure this new folder as the default projects root at the level of the workspace.
- In VS Code, add the selected Momentics project to the VS Code workspace using
the File > Add Folder to Workspace... option:
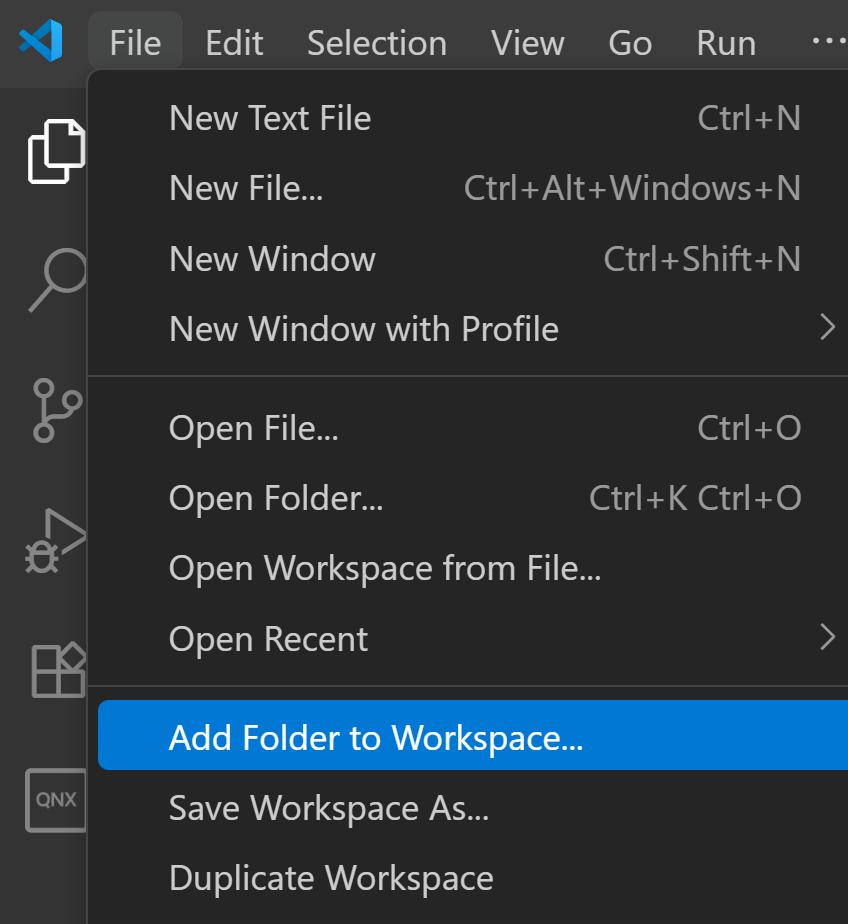
The QNX Toolkit recognizes the project as
qnx/cand offers to create the .vscode folder. - Click Yes.
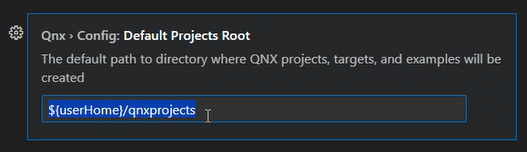
- From the VS Code's Settings editor, search for Default Projects Root.
- Switch to the Workspace tab in the Settings Editor.
- Edit the directory name to represent the root folder of the workspace where you
will store your migrated Momentics projects:
That will save these settings only in the workspace file, while preserving the global settings.