Customizing the desktop
Changing the background image
To change the background image or color, you need to:
- Edit ~/.config/weston.ini.
Look for these parameters under the
[shell]heading in the file, where each parameter is described below:background-image=/usr/share/backgrounds/qnx/background_robotics_720p.png #background-color=0xff002244 background-type=scale-crop - Restart the desktop by logging out.
- Relaunch the desktop from the demolauncher.
Each of the parameters does the following:
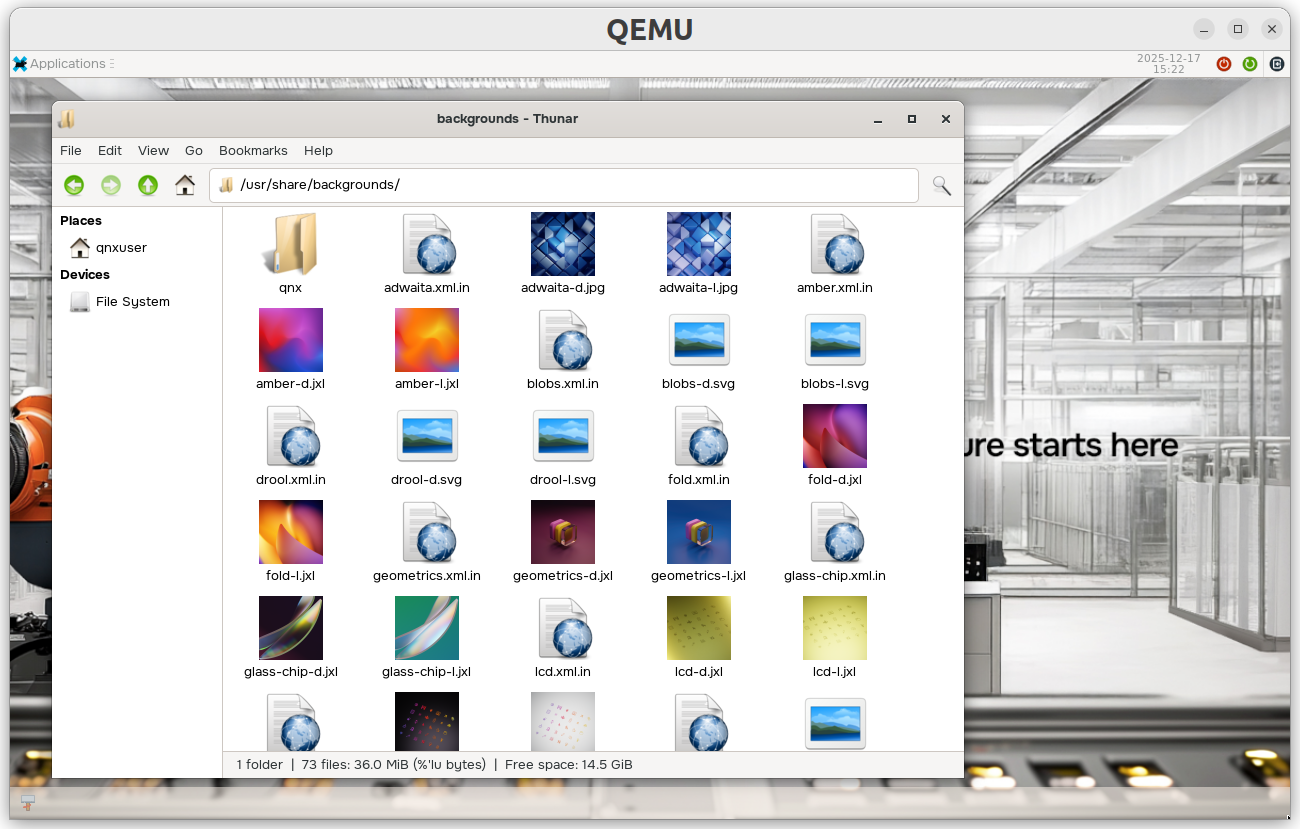
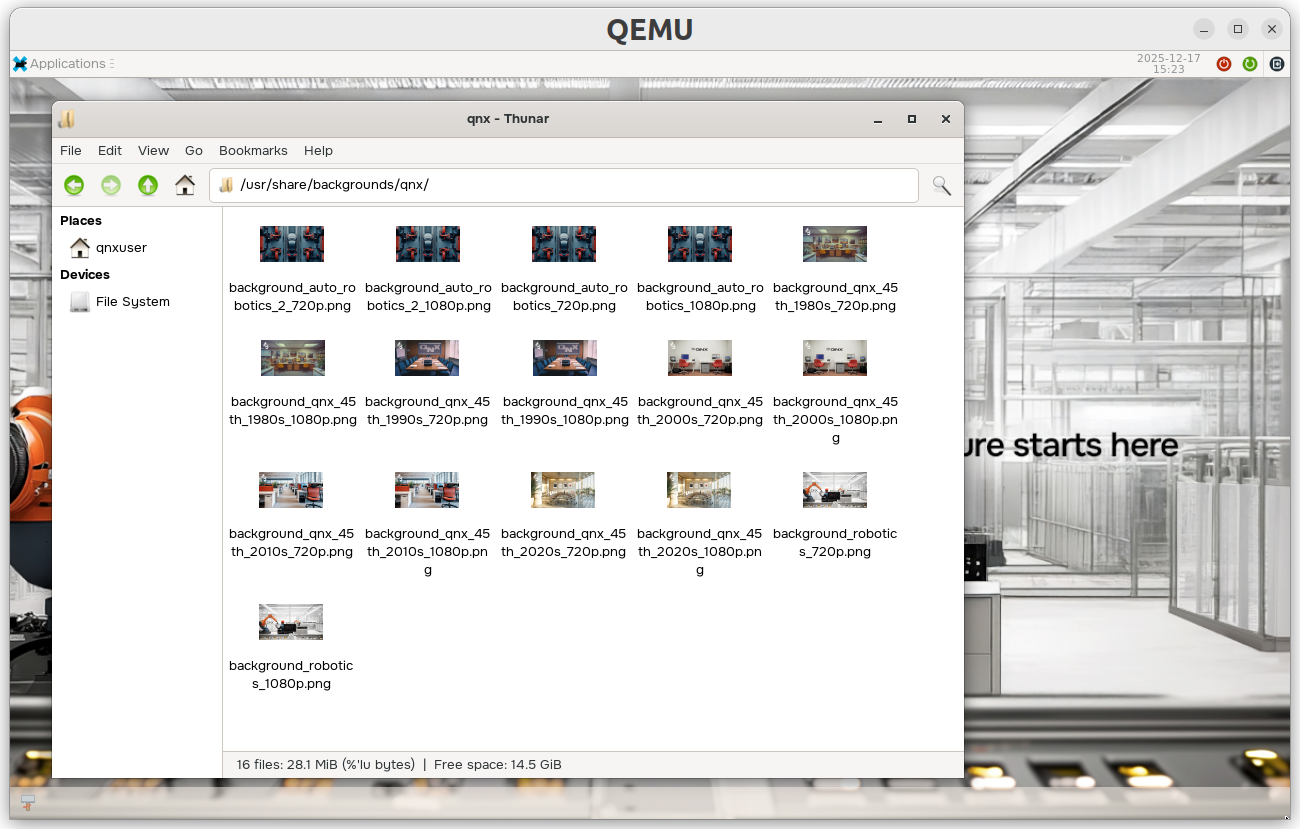
background-imagePoints to most background images under /usr/share/backgrounds or its subfolders. To view the pre-installed backgrounds, open the file manager and navigate to /usr/share/backgrounds:
background-colorSet this attribute to a 32-bit RGBA value, in hexadecimal, if you prefer a solid background or wish to frame a smaller image against a solid color.
background-typeControls how the background image is applied. The parameter is set to
scale-cropby default, which scales the image to completely fill the screen and crops any excess.
Customizing the taskbar
The current desktop is a hybrid configuration containing some elements of the XFCE4 desktop combined with a Weston compositor, and a custom QNX shell for Weston that backs the taskbar at the bottom of the screen.
This taskbar displays icons for applications that are open, and clicking those icons can restore minimized application windows. The taskbar has been pre-configured with icons for all of the applications integrated in the Application menu; if you need more, add new launcher entries in ~/.config/weston.ini. For example:
[launcher]
icon=/usr/share/icons/hicolor/16x16/apps/org.xfce.appfinder.png
appid=xfce4-appfinder
The appid parameter refers to the pop-up that appears when hovering over the icons. The icon parameter points to the path to the icon you want to display in the taskbar for the application.
You need to render applications that don't have an icon with the taskbar_default_icon parameter in the ~/.config/weston.ini file. The taskbar properties are described below. You must restart the desktop for the taskbar changes to take effect:
taskbar-colour=0x88f4ebe1
taskbar-position=bottom
taskbar_default_icon=/usr/share/icons/gnome/16x16/categories/applications-other.pngtaskbar-colorSet this attribute to a 32-bit ARGB value, in hexadecimal. Ensure the first two alphanumeric characters are non-zero if you want the background to show through the taskbar.
taskbar-positionSpecify the position of the taskbar. By default, the taskbar is positioned at the bottom of the screen.
taskbar_default_iconPoints to the path of the icon to be displayed if no launcher is available for an open application.
Changing the top bar configuration
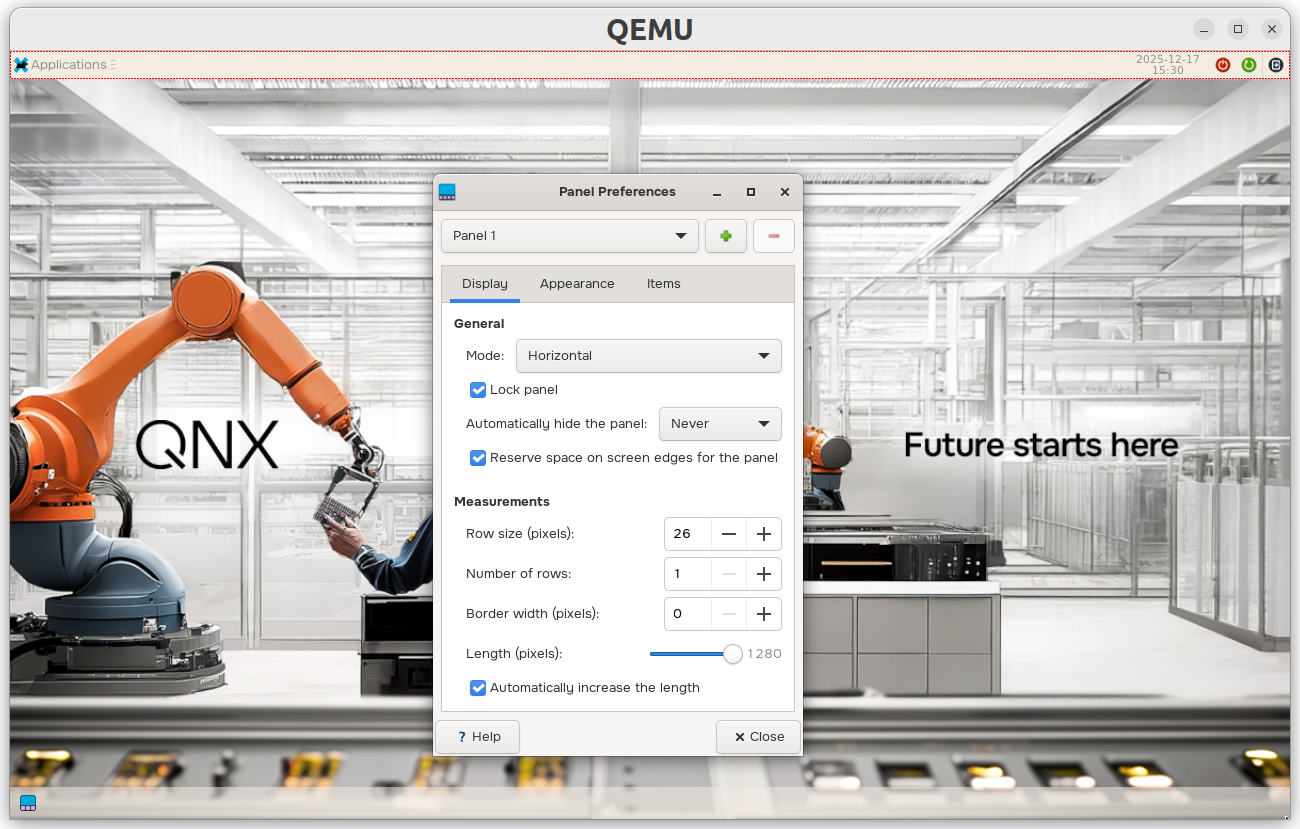
Select Applications > Settings > Panel. The following window opens:
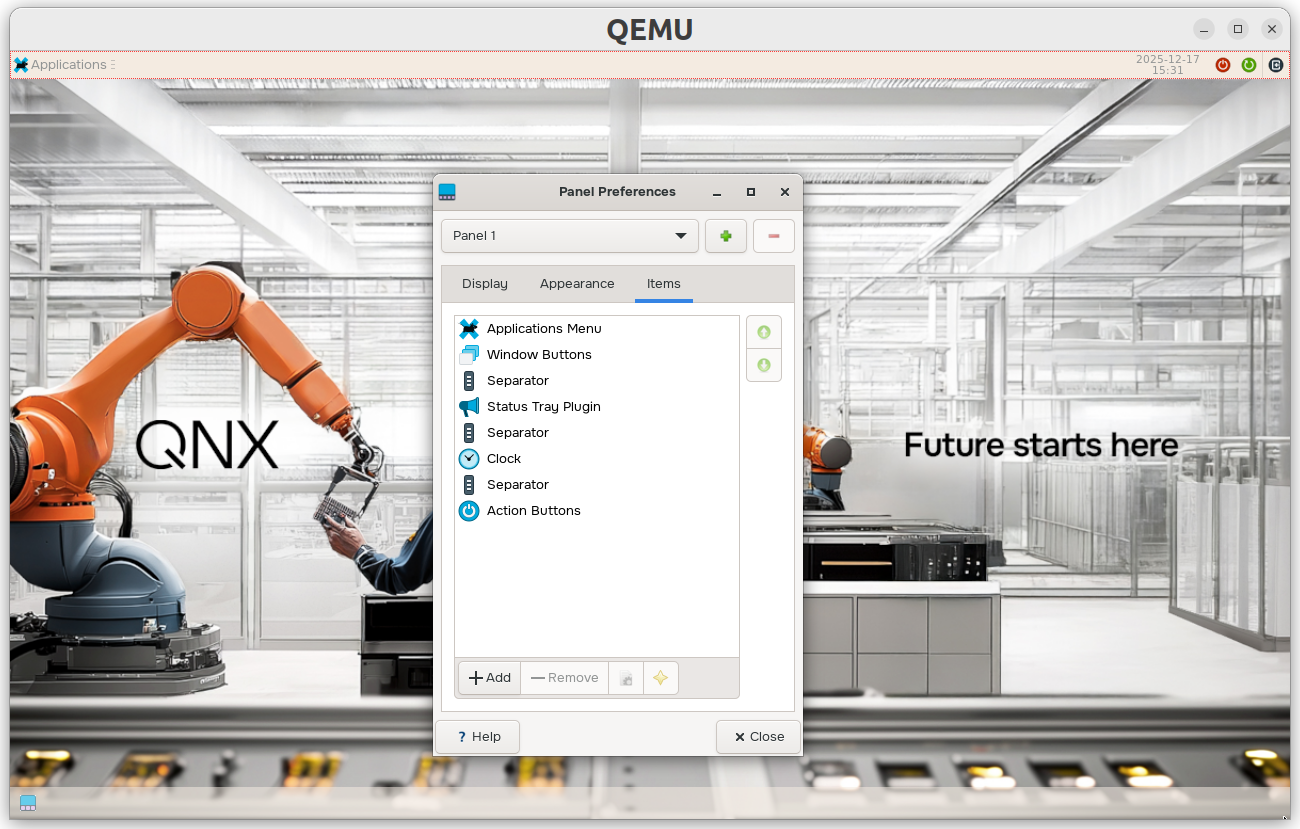
To rearrange the top bar items, select the Items tab. Select individual items to edit their appearance:
To change the top bar color scheme, select the Appearance tab:

Toggle the dark mode button:
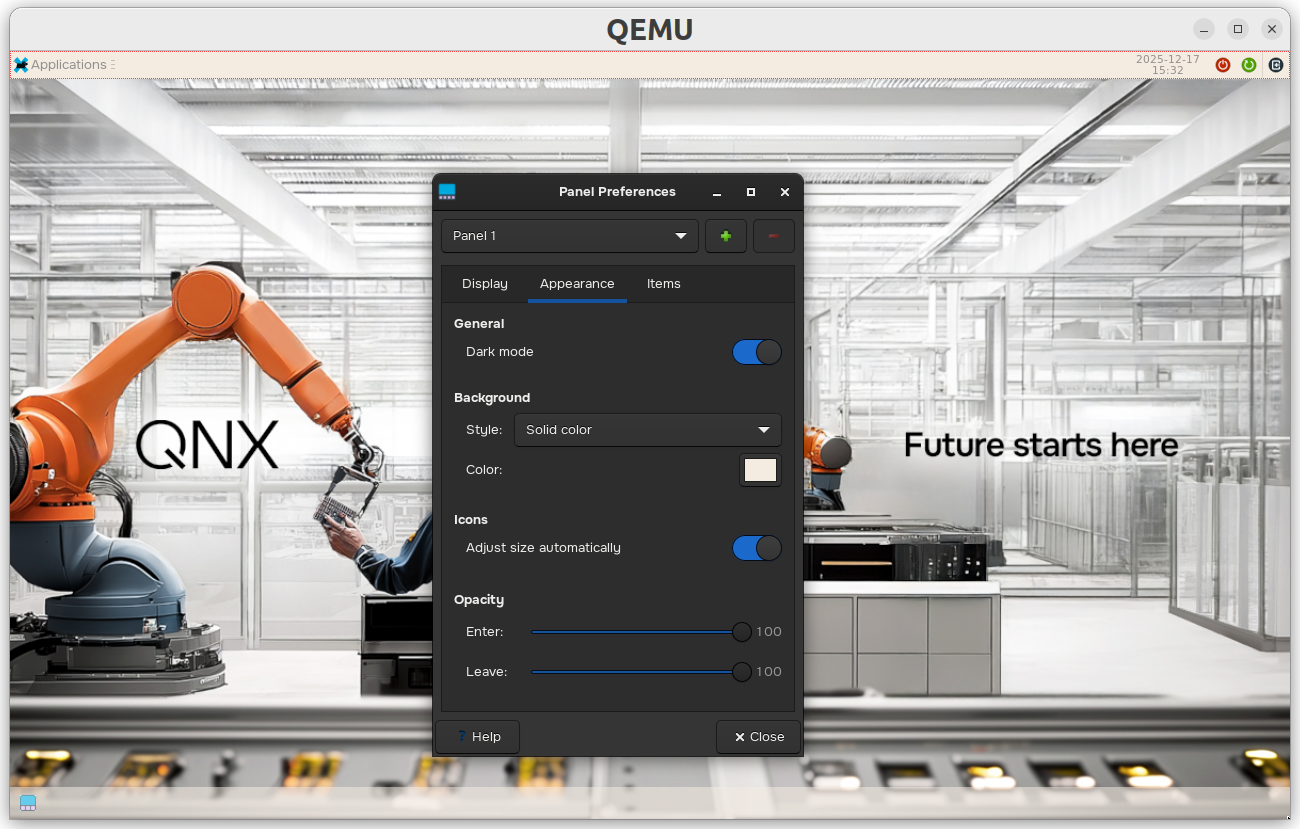
Set the background to none (for system default):

Adjusting the appearance of desktop applications
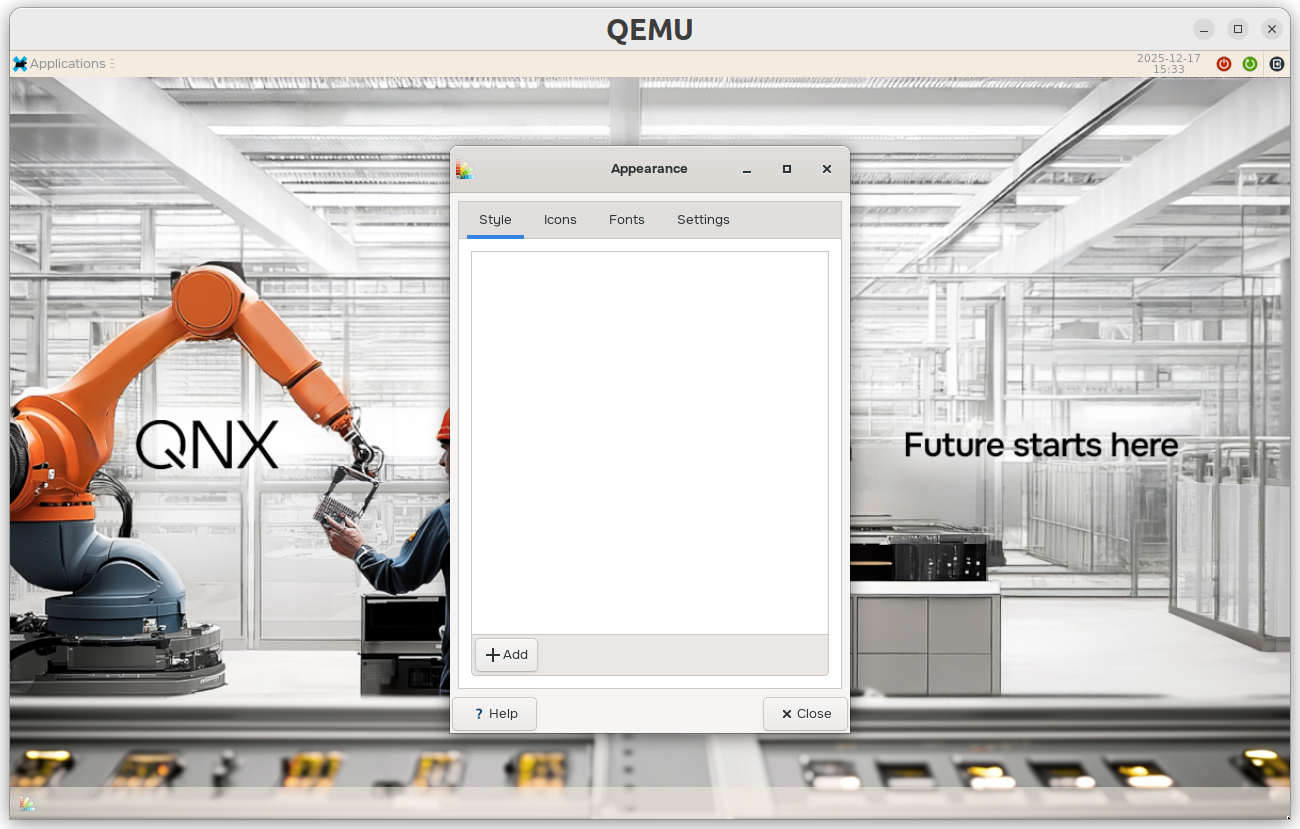
Open the appearance settings by selecting Applications > Appearance. The following window opens:
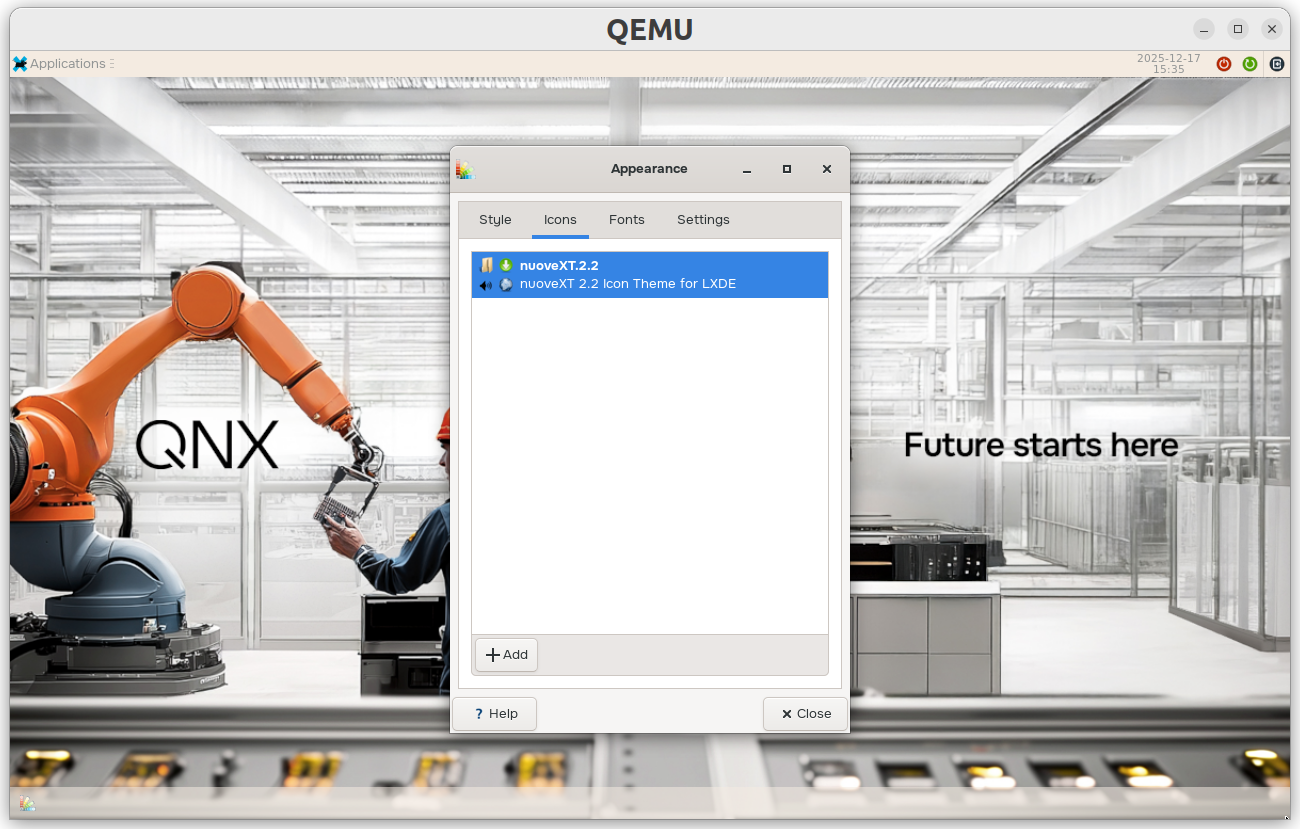
Navigate to the Icons tab to view the current icon theme:
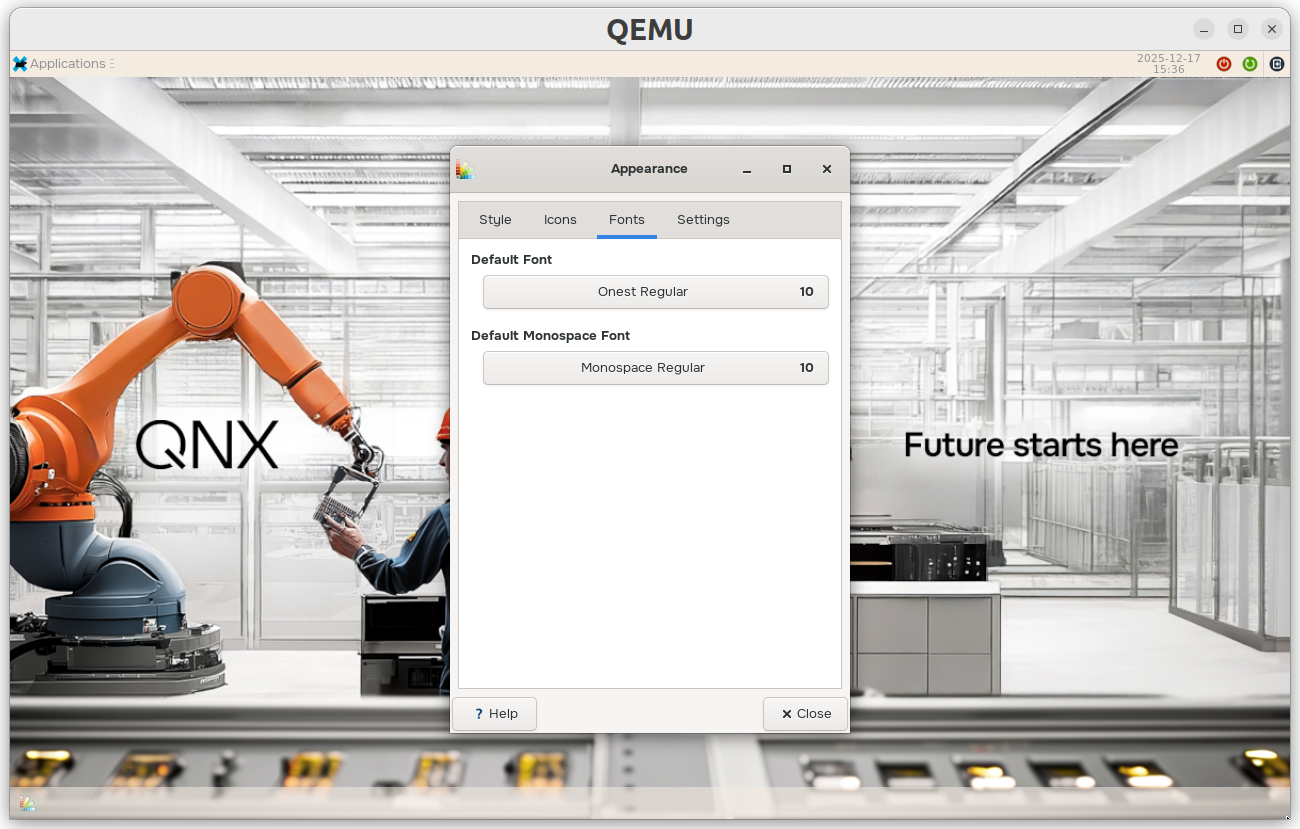
Navigate to the Fonts tab to adjust the default font and monospace font that the desktop apps use:
In some cases, you may need to restart the desktop for the customizations to take effect.
Adjusting application desktop files
You can override the standard desktop files (e.g., change or hide the icons):
Copy the desktop file from /usr/share/applications to ~/.local/share/applications.
Edit the desktop file:
- Change the icon (to change the appearance)
- Change the name
- Add
NoDisplay=true(to hide the application) - Remove
NoDisplay=trueto unhide the application
Log out and log back in to see changes take effect.
Themes
The QNX Developer Desktop doesn't provide an option to switch easily between dark and light mode. However, you can make a few customizations to change the theme.
Dark theme
To change your desktop to a dark theme:
Go to the Panel settings, and then the Appearance tab.
Toggle dark mode on.
Change the background style to None (use system style) or a dark, solid color.
Change the task bar color in ~./config/weston.ini as follows:
taskbar-colour=0xdd333333Change to a darker background image, such as:
background-image=/usr/share/backgrounds/qnx/background_auto_robotics_720p.png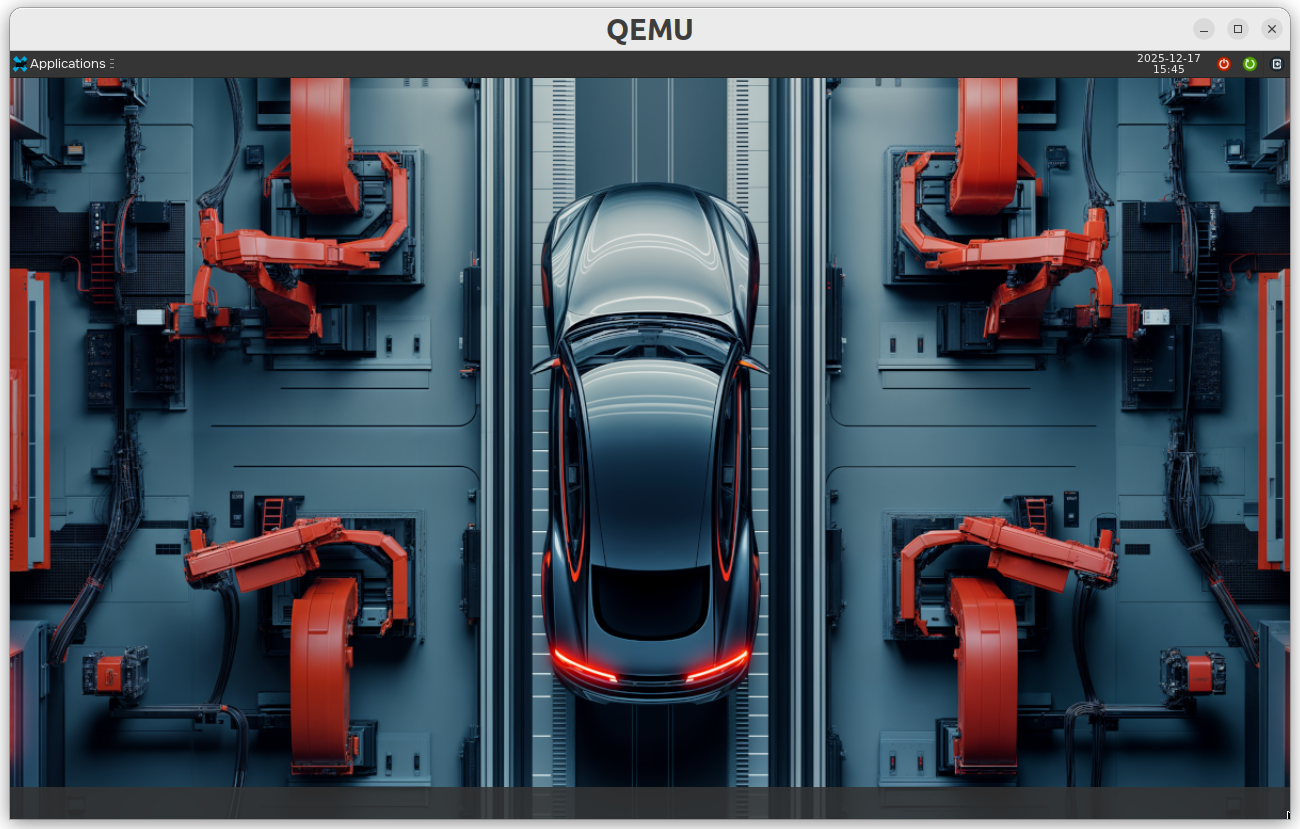
Save, then restart the desktop to apply your changes.
Light theme
By default, the apps, top bar, and task bar display a light theme.
If you try out a dark theme and want to switch back to light:
Go to the Panel settings, and then the Appearance tab.
Toggle dark mode off.
Change the background style to None (use system style) or a light, solid color.
Change the task bar color in ~./config/weston.ini as follows:
taskbar-colour=0x88f4ebe1Change to a lighter background image, such as:
background-image=/usr/share/backgrounds/qnx/background_robotics_720p.png
Save, then restart the desktop to apply your changes.