File operations
The VS Code file system Explorer can provide read and write access to target file systems. With this access, you can perform standard file operations such as creating files and folders, and using cut, copy, and paste.
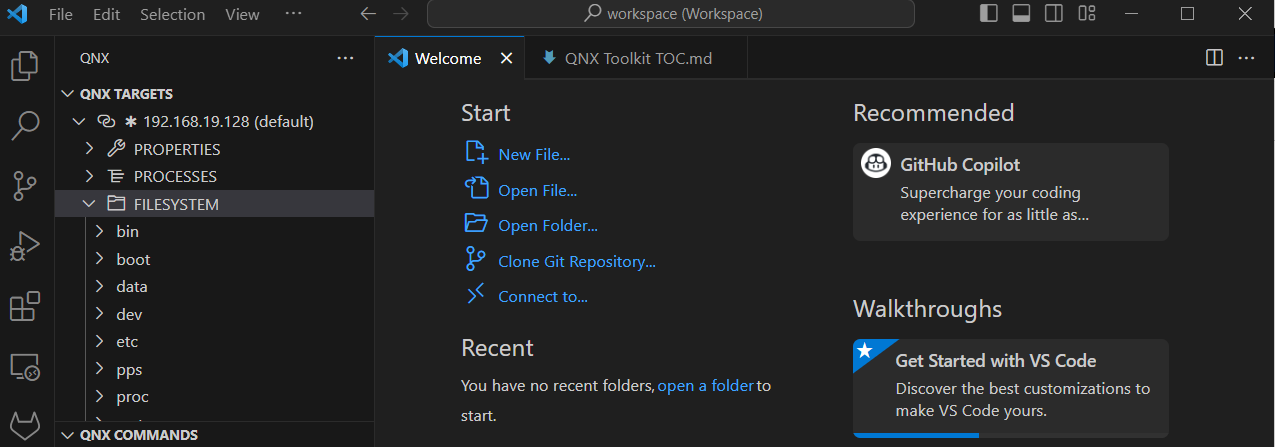
Viewing the filesystem
To view the filesystem:
- Click QNX TARGETS.
- Click the previously created target.
- Click FILESYSTEM. The contents of the file system are displayed including each individual folder.
Mounting the remote file system in Explorer
To mount the file system:
- From QNX TARGETS, right-click the target.
- Click Mount QNX Target File System to Workspace. The filesystem is mounted and you can perform file operations.
Performing file operations
You can perform file operations such as creating new files and folders.
To perform file operations:
- From a mounted remote filesystem, use the buttons to add files and folders.
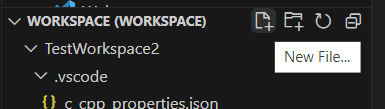
The following operations are possible
- New File (
 ) — add a new file
- New Folder (
 ) — add a new folder
 - Refresh Explorer (
 ) — refresh the remote file system
 - Collapse Folders in Explorer (
 ) — collapse folders
Automated file operations using qnx-shell task
You can use the task.json file to define tasks that copy and move files.
Example 1:
This is task copies files from the current Workspace folder to the /tmp directory on the default target.
{
    "label": "Copy file to target",
    "type": "qnx-shell",
    "command": "upload",
    "args": [
        "--chmod=777",
        "nto/x86_64/o/xxx",
        "/tmp/"
    ]
}
Example 2:
This task copies files from the target to the host.
{
  "label": "Copy from target",
  "type": "qnx-shell",
  "command": "download",
  "qnxtarget": "honey.bbq.net",
  "args": [
    "/tmp/result.log",
    "${workspaceFolder}/result.log",
  ]
},
Example 3:
This task launches /tmp/xxx and redirects input, output, or both to the task console passing myarg as an argument.
{
  "label": "Target launch",
  "type": "qnx-shell",
  "command": "exec",
  "args": [
    "/tmp/xxx",
    "myarg",
  ]
}
Transferring files using the launch configuration
You can transfer files using the launch configuration.
To transfer files:
- From the workspace of the project, click on the launch.json file.
- Use Add Configuration to add the configuration for file uploads.
The following file transfer settings are available:
"files": {
    "type": "array",
    "description": "Additional files that can be uploaded or downloaded (depending on value of \"operation\" attribute) to target before program is launched",
    "default": [],
    "items": {
      "type": "object",
      "properties": {
        "hostPath": {
          "type": "string",
          "description": "The path to upload the file to on the host",
          "default": "-"
        },
        "remotePath": {
          "type": "string",
          "description": "The path to upload the file to on the target"
        },
        "remotePermissions": {
          "type": "string",
          "description": "The permissions for the file on the target in octal format",
          "default": "660"
        },
        "operation": {
          "enum": [
            "upload",
            "download",
            "download-stream"
          ],
          "enumDescriptions": [
            "upload file to target before process launch",
            "download file after process terminates",
            "download file while process running (stream)"
          ],
          "description": "What kind of file operation is expected",
          "default": "upload"
        }
      }
    }
  }
Example:
{
    "type": "qnx-gdb",
    "request": "launch",
    "name": "tracelogger",
    "gdb": "none",
    "program": "tracelogger",
    "args": [
        "-s3",
        "-ftrace.kev"
    ],
    "qnxtarget": "default",
    "upload": false,
    "files": [
        {
            "operation": "download",
            "remotePath": "trace.kev"
        }
    ]
}