Formatting user events with the System Profiler
Using the TraceEvent() API, it's possible to emit custom trace events. However, these events are often difficult to understand in the QNX Momentics IDE, since they don't have named fields the way QNX-provided events do. To address this, we've provided a mechanism for users to specify custom event formatting using an XML file. This guide provides an introduction to user event formatting so that you can interpret trace event data more effectively.
The datakey specifier from the top-level eventdefinitions tag includes several subtags
which are useful for formatting custom user events from the kernel.
This data appears in the Trace Event Log table of the System Profiler.
This guide covers the following subtags: event, bitmask,
condition, and enum. For the XML reference, go to
System Profiler: user event formatting XML reference.
Overview
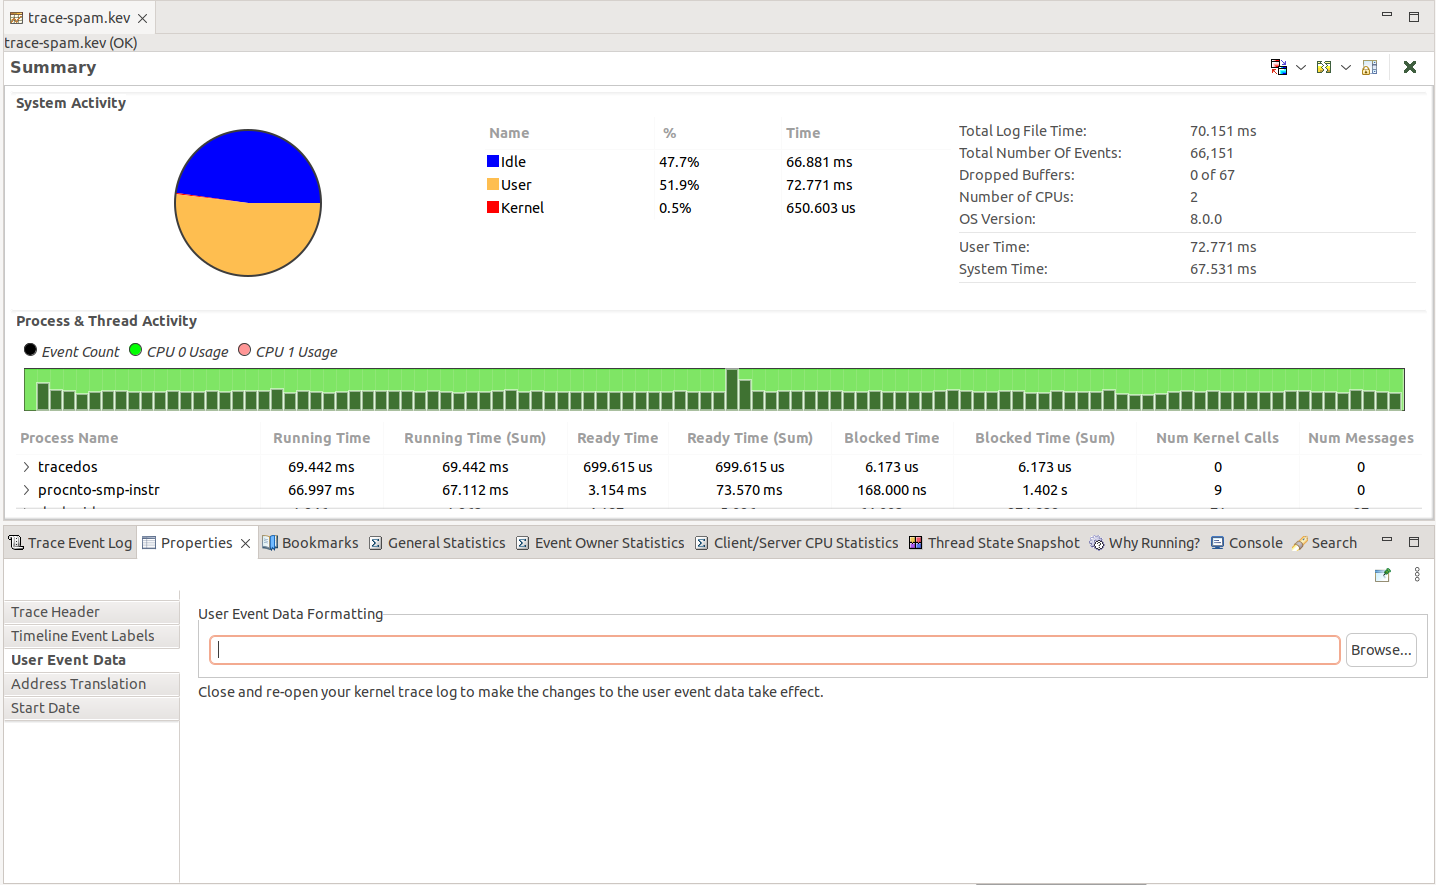
- Navigate to the Properties tab of an open trace.
- Click the Browse button to locate the file with your XML formatting.
Enums
It's useful to use an enum to match against a number of expected values.
Matching values directly:
enum as follows:
<eventdefinitions>
    <datakey format="%x mydata">
        <event class="6" id="10" />
        <enum name="mydata" value="0x0" string="zero"/>
        <enum name="mydata" value="0x1" string="one"/>
        <enum name="mydata" value="0x2" string="two"/>
        <enum name="mydata" value="0x3" string="three"/>
        <enum name="mydata" value="0x4" string="four"/>
        <enum name="mydata" value="0x5" string="five"/>
        <enum name="mydata" value="0x6" string="six"/>
        <enum name="mydata" value="0x7" string="seven"/>
    </datakey>
</eventdefinitions>
In this case, the enum takes the value of the mydata field, and does a simple
equality check against the values provided. It displays the provided string on a
match.
enum
outputs the following:
Event Data:         mydata:0x5 five
Event Data Hex:     0x05 0x00 0x00 0x00 0x00 0x00 0x00 0x00
Matching values after applying a mask:
<eventdefinitions>
    <datakey format="%x mydata">
        <event class="6" id="8"/>
        <enum name="mydata" mask="0x00000001" string="MASK1" />
        <enum name="mydata" mask="0x00000002" string="MASK2" />
        <enum name="mydata" mask="0x00000004" string="MASK3" />
        <enum name="mydata" mask="0x00000003" string="MASK5" />
        <enum name="mydata" mask="0x00000008" string="MASK8" />
    </datakey>
</eventdefinitions>
An enum mask works by applying the mask to the value read from the field in
the format string and checking to see if the masked value is equal to the mask.
enum
outputs the following:
Event Data:         mydata:0x5 MASK1 MASK3
Event Data Hex:     0x05 0x00 0x00 0x00 0x00 0x00 0x00 0x00
Bitmasks and Enums
If multiple values are combined into a single value, then you can apply a bitmask and
an enum to extract data.
enum are used to match against the lower 3 bits of a
value. For user (class 6) event 10, you could apply a mask as follows:
<eventdefinitions>
    <datakey format="%x enum_bitmask">
        <event class="6" id="10" />
        <bitmask value="0x00000007" />
        <enum name="enum_bitmask" value="0x0" string="zero"/>
        <enum name="enum_bitmask" value="0x1" string="one"/>
        <enum name="enum_bitmask" value="0x2" string="two"/>
        <enum name="enum_bitmask" value="0x3" string="three"/>
        <enum name="enum_bitmask" value="0x4" string="four"/>
        <enum name="enum_bitmask" value="0x5" string="five"/>
        <enum name="enum_bitmask" value="0x6" string="six"/>
        <enum name="enum_bitmask" value="0x7" string="seven"/>
    </datakey>
</eventdefinitions>
enum
matching logic. For example, if the mydata field is equal to
0xFFFFFFFF, then the formatting outputs the following:
Event Data:         enum_bitmask:0x7 seven
Event Data Hex:     0xFF 0xFF 0xFF 0xFF 0xFF 0xFF 0xFF 0xFF
datakey only contains a single element (enum_bitmask),
the name attribute is not strictly required on the enum tags:
<eventdefinitions>
    <datakey format="%x enum_bitmask">
        <event class="6" id="10" />
        <bitmask value="0x00000007" />
        <enum value="0x0" string="zero"/>
        <enum value="0x1" string="one"/>
        <enum value="0x2" string="two"/>
        <enum value="0x3" string="three"/>
        <enum value="0x4" string="four"/>
        <enum value="0x5" string="five"/>
        <enum value="0x6" string="six"/>
        <enum value="0x7" string="seven"/>
    </datakey>
</eventdefinitions>
Conditions
<eventdefinitions>
    <datakey format="%2s1d status %4u1x pid" offset="0" wide_offset="0" show_masked_value="false">
        <event class="6" id="12" />
        <enum name="status" value="0" string="OK" />
        <enum name="status" value="-1" string="Error" />
    </datakey>

    <datakey format="%4s1d error_no" offset="6">
        <event class="6" id="12" />
        <condition key="status" value="-1" />
        <enum name="error_no" value="1" string="EBADREQ" />
        <enum name="error_no" value="2" string="ENOWORKER" />
    </datakey>
</eventdefinitions>
enum. For example:
Event Data:         status:-1 Error pid:0x7c5 error_no:1 EBADREQ
Event Data Hex:     0xFF 0xFF 0xC5 0x07 0x00 0x00 0x01 0x00
                    0x00 0x00 0x00 0x00 0x00 0x00 0x00 0x00
                    0x00 0x00 0x00 0x00 0x00 0x00 0x00 0x00
                    0x00 0x00 0x00 0x00 0x00 0x00 0x00 0x00
Event Data Hex:
0    1    2    3    4    5    6    7
0xFF 0xFF 0xC5 0x07 0x00 0x00 0x01 0x00
0x00 0x00 0x00 0x00 0x00 0x00 0x00 0x00
0x00 0x00 0x00 0x00 0x00 0x00 0x00 0x00
0x00 0x00 0x00 0x00 0x00 0x00 0x00 0x00
Using a mask and value in a condition
You can combine a mask and a value in a condition, which is useful when you want to locate multiple fields within data.
<eventdefinitions>
    <datakey format="%4u1x id %4u1d size %1s0 data" offset="10">
        <event class="6" id="12"/>
        <condition name="header" mask="0x3" value="0"/>
    </datakey>
</eventdefinitions>
Event Data:         status:0 OK pid:0x7c5 header:0x4 BROADCAST id:0x9abccba9 size:14 data:exampleMessage
Event Data Hex:     0x00 0x00 0xC5 0x07 0x00 0x00 0x04 0x00
                    0x00 0x00 0xA9 0xCB 0xBC 0x9A 0x0E 0x00
                    0x00 0x00 0x65 0x78 0x61 0x6D 0x70 0x6C
                    0x65 0x4D 0x65 0x73 0x73 0x61 0x67 0x65
In the above example, the formatting is applied even though the header field's value
is 0x4. The formatting applies because the 4 is masked out by the
condition's mask and the resulting value is equal to the condition's value of 0.
<eventdefinitions>
    <datakey format="%4u1x id %4u1d size %1s0 data" offset="10">
        <event class="6" id="12"/>
        <condition name="header" mask="0x3" value="0"/>
    </datakey>

    <datakey format="%4u1x id %4u1x data" offset="10">
        <event class="6" id="12"/>
        <condition key="header" mask="0x3" value="1"/>
    </datakey>
</eventdefinitions>
id and data fields are applied
since the header is masked and the value equals 1 instead of 0:
Event Data:         status:0 OK pid:0x7c5 header:0x1 id:0xbeefbeef data:18
Event Data Hex:     0x00 0x00 0xC5 0x07 0x00 0x00 0x01 0x00
                    0x00 0x00 0xEF 0xBE 0xEF 0xBE 0x12 0x00
                    0x00 0x00 0x00 0x00 0x00 0x00 0x00 0x00
                    0x00 0x00 0x00 0x00 0x00 0x00 0x00 0x00
size field is parsed from the data.