![[Previous]](prev.gif) |
![[Contents]](contents.gif) |
![[Index]](keyword_index.gif) |
![[Next]](next.gif) |
|
|
|
|
 |
This version of this document is no longer maintained. For the latest documentation, see http://www.qnx.com/developers/docs. |
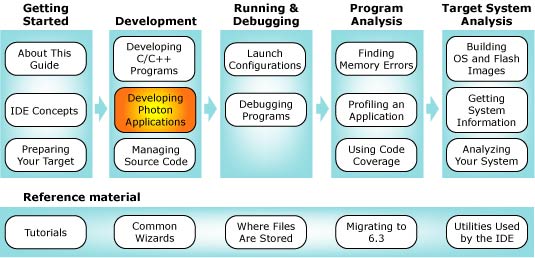
You can select a topic from this diagram:
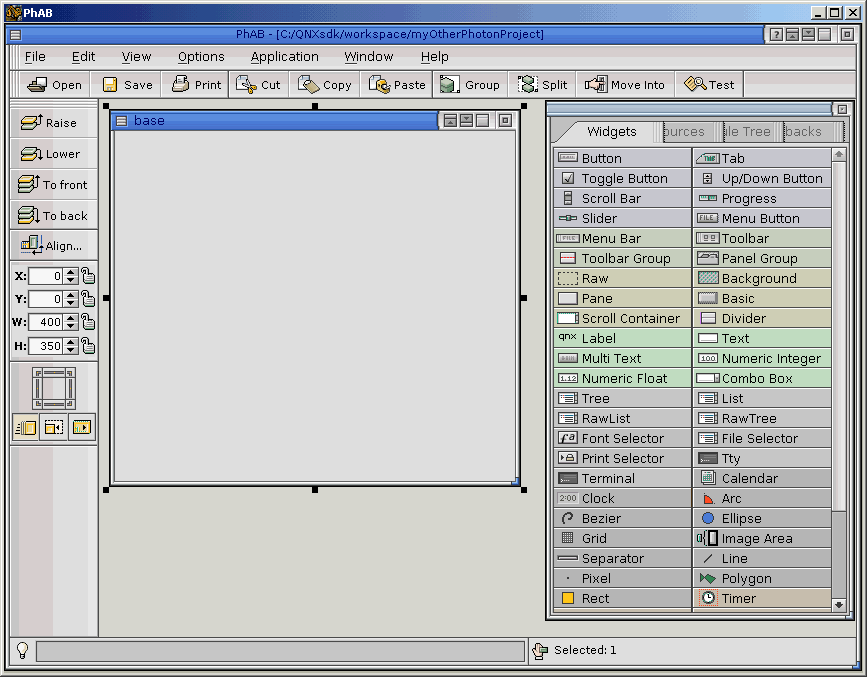
Use the PhAB visual design tool to develop Photon apps.
The Photon microGUI includes a powerful development tool called PhAB (Photon Application Builder), a visual design tool that generates the underlying C/C++ code to implement your program's UI.
With PhAB, you can dramatically reduce the amount of programming required to build a Photon application. You can save time not only in writing the UI portion of your code, but also in debugging and testing. PhAB helps you get your applications to market sooner and with more professional results.
PhAB lets you rapidly prototype your applications. You simply select widgets, arrange them as you like, specify their behavior, and interact with them as you design your interface.
PhAB's opening screen looks like this:
The IDE frequently runs command-line tools such as gdb and mkefs "behind the scenes," but PhAB and the IDE are separate applications; each runs in its own window. You can create files, generate code snippets, edit callbacks, test your UI components, etc. in PhAB, while you continue to use the IDE to manage your project as well as debug your code, run diagnostics, etc.
PhAB was originally designed to run under the Photon microGUI on a QNX Neutrino host, but the phindows ("Photon in Windows") utility lets you run PhAB on a Windows host as well. The IDE lets you see, debug, and interact with your target Photon application right from your host machine as if you were sitting in front of your target machine.
In most respects, using PhAB inside the IDE is the same as running PhAB as a standalone application.
 |
For a full description of PhAB's functionality, see the Photon Programmer's Guide. |
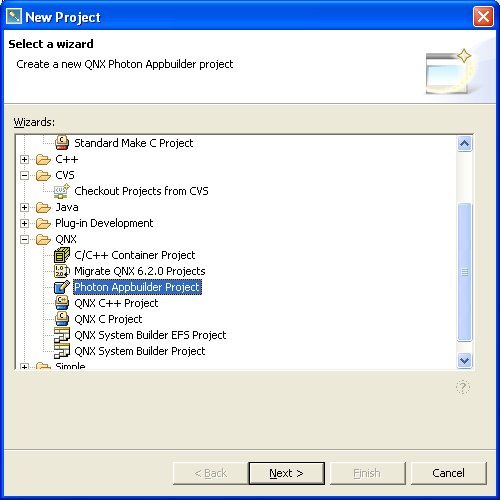
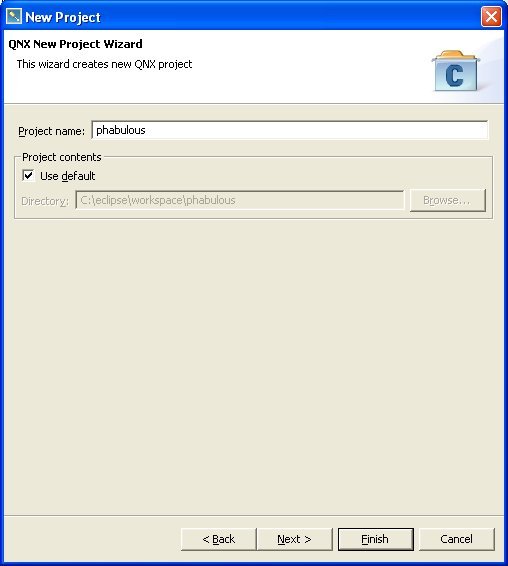
In order to use PhAB with the IDE, you must create a QNX Photon Appbuilder project to contain your code. This type of project contains tags and other information that let you run PhAB from within the IDE.
To create a PhAB Project:

|
If you wish to set any other options for this project, click the remaining tabs and fill in the fields. For details on the tabs in this wizard, see "New C/C++ Project wizard tabs" in the Common Wizards Reference chapter. |
The IDE creates your project, then launches PhAB. (In Windows, the IDE also creates a Console for PhAB window.)
To end a PhAB session:
 |
From PhAB's main menu, select File-->Exit. |
|
In Windows, don't end a PhAB session by clicking the
Close button in the top-right corner of the PhAB
window; clicking this button closes the phindows
utility session without letting PhAB itself shut down
properly. Subsequent attempts to restart PhAB may fail.
To recover from improperly closing PhAB:
|
|
To reopen your QNX Photon Appbuilder project open the Project menu and click Open Appbuilder. |
You can edit the code in your QNX Photon Appbuilder project using both PhAB and the IDE. Using PhAB, you can control the widgets and the overall layout of your program; using either PhAB or the IDE, you can edit the code that PhAB generates and specify the behavior of your callbacks.
To use PhAB to edit the code in a QNX Photon Appbuilder project:
|
If for some reason the Open Appbuilder button isn't
in the C/C++ perspective's toolbar:
|
To use the IDE to edit the code in a QNX Photon Appbuilder project:
|
In the C/C++ Projects view, double-click the file you want to edit. The file opens in an editor. |
If a file that you created with PhAB doesn't appear in the C/C++ Projects view, right-click your project and select Refresh.
|
Editing files using two applications can increase the risk of accidentally overwriting your changes. To minimize this risk, close the file in one application before editing the file in the other. |
You build a QNX Photon Appbuilder project in exactly the same way as other projects. (For information on building projects, see the "Building projects" section in the Developing Programs chapter.)
To build a QNX Photon Appbuilder project:
|
In the C/C++ Projects view, right-click your QNX Photon Appbuilder project and select Build. The IDE builds your project. |
You can connect to a Photon session from a Windows or QNX Neutrino host machine and run your Photon program as if you were sitting in front of the target machine. Photon appears in a phindows window on your Windows host or in a phditto window on your QNX Neutrino host.
The remote Photon session runs independently of your host. For example, the clipboards don't interact, and you can't drag and drop files between the two machines. The phindows and phditto utilities transmit your mouse and keyboard input to Photon and display the resulting state of your Photon session as a bitmap on your host machine.
Before you run a remote Photon session on a Windows host, you must first prepare your target machine. (For details, see the "Connecting with Phindows" section in the Preparing Your Target chapter.)
To start a remote Photon session:
|
In the Target Navigator view, right-click a target and
select Launch Remote Photon.
Photon appears in a Phindows window. |
You can start a Photon application you created in PhAB in exactly the same way that you launch any other program in the IDE. By default, the program opens in the target machine's main Photon session. (For more on launching, see the Launch Configurations Reference chapter in this guide.)
To run your Photon program in a remote Photon session window:
echo $PHOTON
The target returns the session, such as /dev/ph1470499. The number after ph is the process ID (PID).
|
If you close and reopen a remote Photon session, you must update your launch configuration to reflect the new PID of the new session. |
|
|
|
|