Import packages or package archives from your local filesystem
You may need to use the QNX Software Center on a workstation that has no Internet connection or that has restricted access to external websites. If so, you can obtain packages or package archives for offline installation, store them on your local filesystem, and then import them into the QNX Software Center to add or modify QNX Software Development Platform (SDP) installations.
A package is the minimal unit of software you can install. It contains metadata (for instance, name, version, dependencies) and, in most cases, a payload of files. The filename for a package typically includes the .qpkg extension. A package archive, in comparison, consists of multiple packages packed into a single container such as .zip, .tar, .tar.gz, or .tar.xz.
Importing packages to add an installation
To add an installation:
- Select .
- Click Import and Install Package(s), then click Next.
-
Click Browse to select your baseline package or package archive.
Alternatively, you can use the Select package file(s) field to specify the baseline package for your installation. To specify the desired package, enter the Package Id and, optionally, the Package Internal Version. Make sure to separate the ID and the version by a slash (/). For definitions of Package Id and Package Internal Version, see
Manifest report fields
in theManifest Reports & File Lookup
chapter. - Click Create new installation, then click Next.
- If you haven't already added your license key, click Add License Key and
enter the key listed in your license certificate or myQNX account. Click
OK, then click Next.
If your product requires activation, you can activate it now or later. See
Perform manual product activation
to learn how to activate a product offline. - Specify the installation folder, name, and other properties of your installation, then click
Next. For help, see
Edit installation properties.
- Make sure that the item you want to install is checked, then click Next.
- Review the packages that QNX Software Center will install, then click Finish to begin the installation process. The process may take a few minutes to complete.
Importing packages to modify an installation
To modify an existing installation:
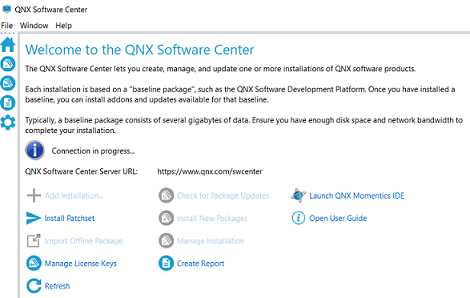
- Sign into QNX Software Center and at the home page, "Welcome to QNX Software Center" page is
displayed.
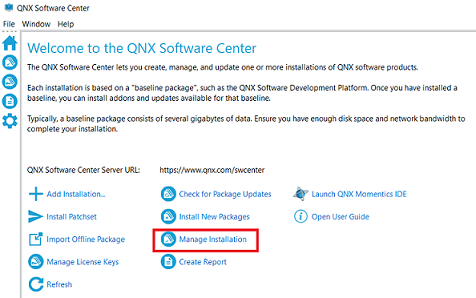
- Navigate to Manage Installation and click it.
- Click the installation selector in the top-right area of the window, then select the
installation you wish to modify.

- Select .

- Click Import and Install Package(s), then click Next.
- Click Browse to select your package or package archive.Alternatively, you can use the Select package file(s) field to do one of the following:
- Specify a list of packages to install — For each
desired package, enter the Package Id and, optionally, the Package
Internal Version. Make sure to separate the ID and the version by a
slash (/). For definitions of Package Id and Package Internal
Version, see
Manifest report fields
in theManifest Reports & File Lookup
chapter. - Specify a custom query, using p2ql, to select a set of matching packages to install — See the Package Filter dialog for examples of using the p2ql language and visit https://wiki.eclipse.org/Equinox/p2/Query_Language_for_p2 to learn more about p2ql.
- Specify a list of packages to install — For each
desired package, enter the Package Id and, optionally, the Package
Internal Version. Make sure to separate the ID and the version by a
slash (/). For definitions of Package Id and Package Internal
Version, see
- Select Use current installation, then click Next.
- Check the items you want to install, then click Next.
You can install all of the items right away, or you can install some now and others later. When installing later, use the standard installation method described in
Install addon packages.
- Review the packages that will be installed, then click Finish to complete the installation process.
Deleting imported packages
When you import a local package for offline installation, the QNX Software Center
stores the imported data in the offline package repository (also known
as the dropins repository). You can clear the contents of this repository if you are
running short on disk space. See Delete imported package data that you no longer need
for details.