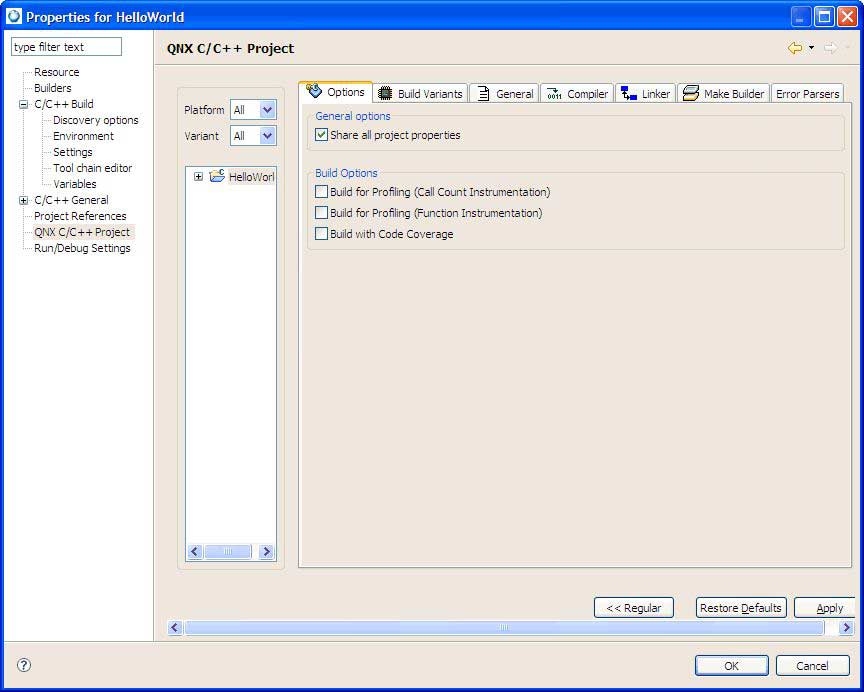
The conversion wizard gave your Standard Make project a QNX nature; you now need to use the Properties dialog to fully convert your project to a working QNX project.
To open the Properties dialog for a project:
- In the Project Explorer view, right-click your project.
- Select Properties from the context menu. The Properties dialog appears:

- In the left pane, select QNX C/C++ Project.
- Specify the properties you want using the available tabs:
- Options
- See the section Project properties above.
- Build Variants
- See the section Project properties above.
- General
- In the Installation directory field, you can specify the destination directory (e.g. bin) for the output binary you're building. (For more information, see the Conventions for Recursive Makefiles and Directories chapter in the Neutrino Programmer's Guide.)
In the Target base name field, you can specify your binary's base name, i.e. the name without any prefixes or suffixes. By default, the IDE uses your project name as the executable's base name. For example, if your project is called Test_1, then a debug version of your executable would be called Test_1_g by default.
In the Use file name, enter the name of the file containing the usage message for your executable. (For more on usage messages, see the entry for usemsg in the Utilities Reference.
- Compiler
- See the section Compiler tab below.
- Linker
- See the section Linker tab below.
- Make Builder
- See the section Project properties above.
- Error Parsers
- See the section Project properties above.
- When you've finished specifying the options you want, click Apply, then OK. The conversion process is complete.