Installing the QSTI on a board
Once you've gathered the necessary hardware, you can get your QNX OS quick start image and set up your QNX project!
Getting the QNX OS image
In the following steps, you'll need to install QNX SDP 8.0. Note that SDP 8.0 is supported on development hosts with one of the following 64-bit operating systems:
- Microsoft Windows 11 or Windows 10
- Ubuntu Desktop 22.04 LTS, Ubuntu Desktop 20.04 LTS, or Red Hat Enterprise Linux 9
With this in mind, here's how to get the QNX OS quick start image:
Get a free, non-commercial QNX Software Development Platform 8.0 license at https://www.qnx.com/getqnx.
Accept and deploy your license in your myQNX account.
Install the QNX Software Center: https://www.qnx.com/download/group.html?programid=29178.
- On Windows, install QNX Software Center 2.0 Build XXXXXXXXXXXX - Windows Hosts.
- On Linux, install QNX Software Center 2.0 Build XXXXXXXXXXXX - Linux Hosts.
For more information on how to navigate the QNX Software Center, go to the myQNX License Manager and QNX Software Center User's Guide at https://www.qnx.com/developers/docs/qsc/#com.qnx.doc.qsc.nav/topic/bookset.html.
Install the QNX Software Development Platform 8.0. The package ID is com.qnx.qnx800.
Install the com.qnx.qnx800.quickstart.rpi4 package containing the prebuilt QNX OS quick start image from the QNX Software Center. By default, the package installs to the following location:
- On Windows, the package installs to C:\Users\username\qnx800\images.
- On Linux, the package installs to ~/qnx800/images.
Flashing the image to a micro SD card
QNX recommends using the Raspberry Pi imager to flash the image to your micro SD card. However, the imager doesn't support Ubuntu versions older than 20.04. If the Raspberry Pi Imager isn't available on your system, use command line utilities to flash the image to your SD card.
Using the Raspberry Pi imager
You can flash the image to your SD card using the Raspberry Pi Imager: https://www.raspberrypi.com/software/.
On Ubuntu, install the imager using sudo snap install rpi-imager.
First, connect a micro SD card to your computer. Then, install and launch the Raspberry Pi Imager. Select an option for each of the following categories:
| For the category: | Select: |
|---|---|
| Raspberry Pi Device | Raspberry Pi 4 |
| Operating System | Use custom, then the extracted QNX OS image file (named qnx_sdp8.0_rpi4_quickstart_YYYYMMDD.img by default) |
| Storage | The target device that corresponds to your SD card |
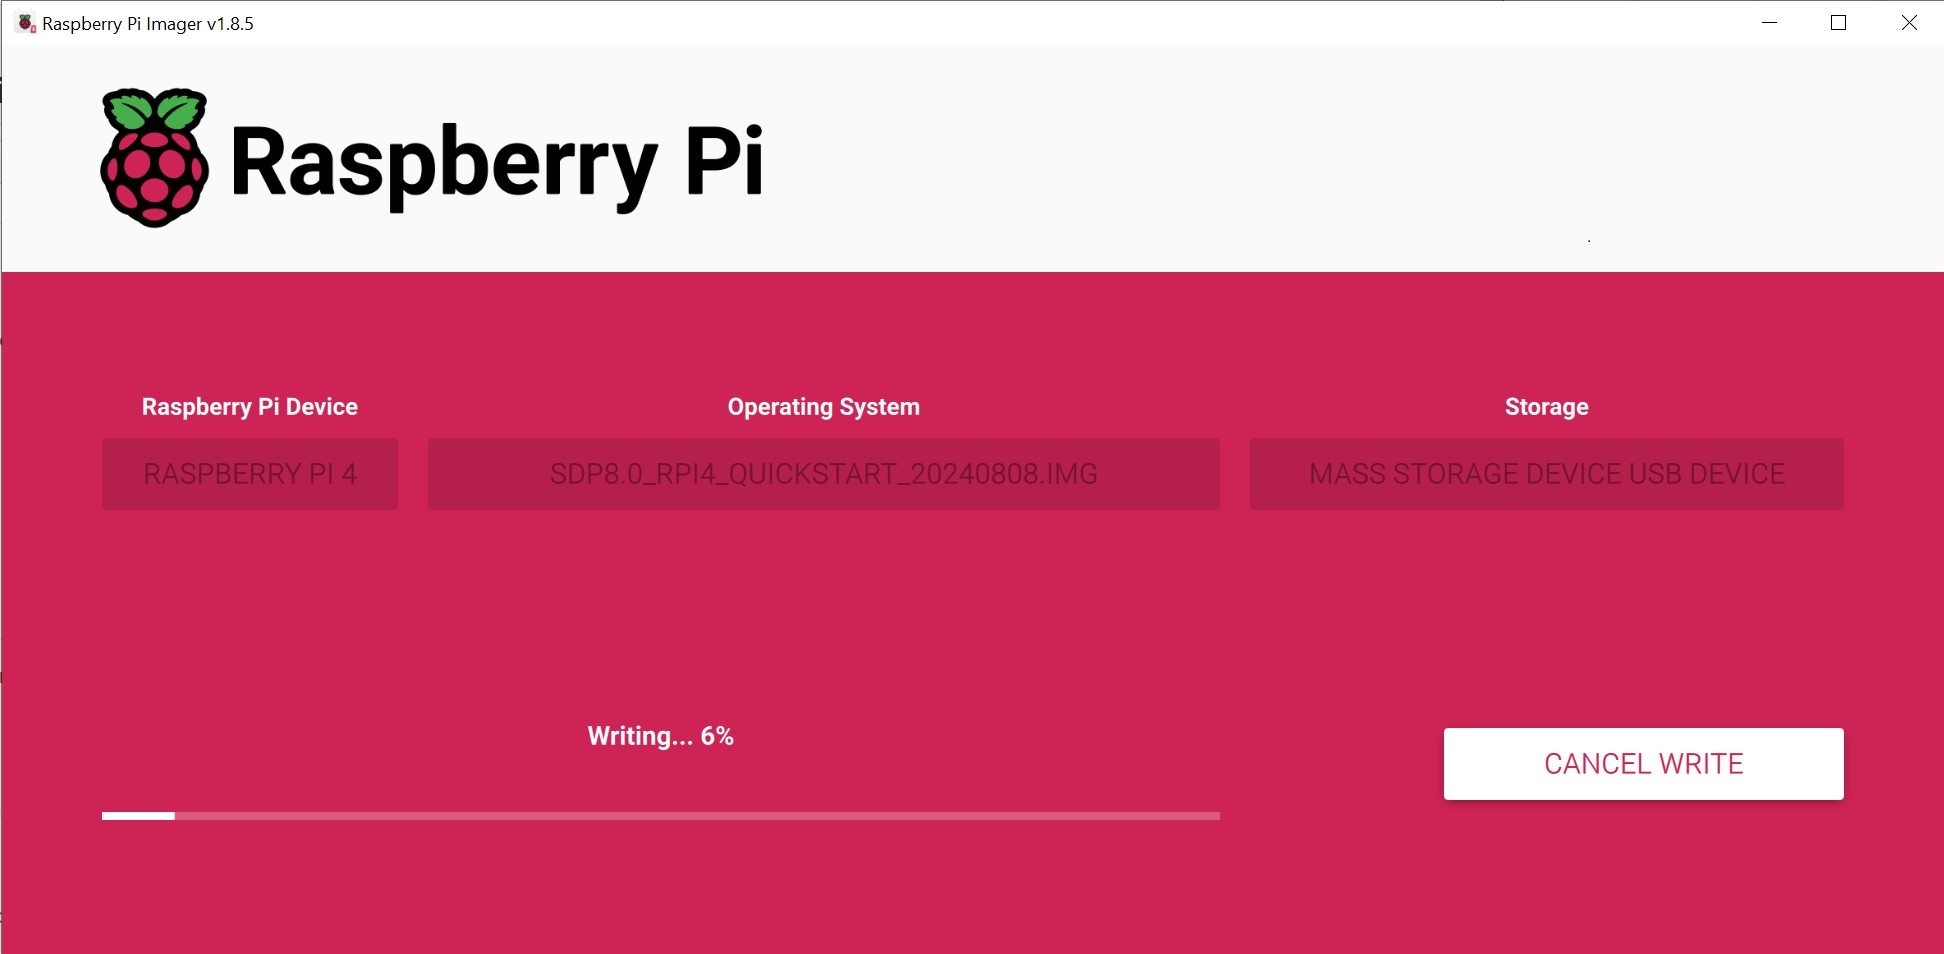
Click NEXT, then NO in the Use OS customisation? window. Select YES to confirm. The Raspberry Pi imager displays a loading screen that indicates the writing process has started:
Once the imager has finished writing, it will eject your SD card. Reconnect the card to view the files of the FAT32 boot partition.
Configuring for first boot
While your micro SD card is still connected to your computer, you can edit the network file to reassign or add any of the network variables described in the CTI chapter.
You can also edit the /boot/network file on your Raspberry Pi directly.
The network file timestamp must be newer than its corresponding setting file in the system partition. You can enter the date -s command on your Raspberry Pi to set the date.
Wi-Fi
Configure your network settings for Wi-Fi before disconnecting your micro SD card from your computer.
On the first partition of your SD card, edit the wpa_supplicant.conf file to add your Wi-Fi network's details. If the wpa_supplicant.conf file doesn't exist on your SD card, you can create it. Update the ssid entry to the name of your Wi-Fi network, and the psk entry to its password:
network={
  ssid="<SSID>"
  key_mgmt=WPA-PSK
  psk="<PASSWORD>"
}
For complex Wi-Fi configurations, refer to the Free BSD documentation on wpa_supplicant.conf for more network block options: https://man.freebsd.org/cgi/man.cgi?wpa_supplicant.conf.