Customization
Several customizations are possible with this project. This section reviews the differences in how to use existing customizations and covers some new customizations. Where customizations are made differs with this project than on the device. Look for notes below pointing out the differences. After making customizations, you'll need to rebuild the image and flash to an SD card to then try the changes on a device.
Configuring cURL
This project includes changes that pre-configure the installed version of cURL with root certificates downloaded during the build.
Any instructions in the QSTI chapter related to configuring cURL are no longer required.
A new script called updatecacert has been added to download updated certificates in the future on a live device.
The build itself downloads a fresh set of certificates if a clean operation is performed before a new build.
Keyboard layout
Find instructions for changing the keyboard layout in the "Keyboard layout" section of the QSTI chapter.
To make the equivalent change for this project (i.e., to incorporate it into the build itself), you need to make the change described above to graphics-rpi4.conf instead.
Display resolution
Find instructions for changing the display resolution in the "Display resolution" section QSTI chapter.
To make the equivalent change for this project (i.e., to incorporate it into the build itself), you need to make the change described above to graphics-rpi4.conf instead.
The instructions that rely on runtime commands don't apply for build changes, so you need to know the display resolution in advance or make a guess, build the image, then double check via runtime instructions on the device. Then, you can go back and try the change again and rebuild the image with the correct settings.
Camera
If you wish to experiment with camera support, you can adjust the default configuration for launch by commenting (or uncommenting) the entries in the post_startup.custom snippet, where the sensor service is started. For example, look for these lines:
# Simulator camera i.e. color bars
sensor -U 521:521,1001 -r /system/share/sensor -c /system/etc/system/config/sensor_demo.conf
and comment out the command as follows:
# Simulator camera i.e. color bars
#sensor -U 521:521,1001 -r /system/share/sensor -c /system/etc/system/config/sensor_demo.conf
and then look for these lines:
# Camera Module 3
#sensor -U 521:521,1001 -b external -r /system/share/sensor -c /system/etc/system/config/camera_module3.conf
and change to:
# Camera Module 3
sensor -U 521:521,1001 -b external -r /system/share/sensor -c /system/etc/system/config/camera_module3.conf
to try out the camera samples with Raspberry PI Camera Module v3, once you build the image, flash it to an SD card with a device.
Review the other configurations to find the appropriate configuration for any other supported camera that you may have.
Adding binaries
Adding new binaries to the image is somewhat easier when you can build the image yourself.
The most straightforward way to add prebuilt binaries would be to:
Add the prebuilt binary to the system folder, in the appropriate folder or create a folder or folders with the same relative path as it would appear in the system partition on the device.
Add an entry, similar to the example below, to system_files.custom or a new partial add-on snippet for the system partition:
bin/gpio-bcm2711=bin/gpio-bcm2711The path to the left of the "=" is the relative path to place the file to /system on the device, and the path to the right is the relative path inside the system folder in this project.
What about binaries that are built from open source projects? They're installed in the staging area located at src/stage, so you need to account for its relative path from that location for the right side expression, and you still set the left side of the entry to the relative system path on the device.
Customizing the Welcome screen
Find existing instructions for adjusting the Welcome screen placeholder desktop icons in the Customizing the Welcome screen section of the QSTI chapter.
Customizing demolauncher icons
The current desktop files leverage Google Material Design icons that were integrated in the assets/icon folder and are similar to the icons used in previous versions of the QSTI, but have a slightly flatter look. The screenshot below shows how the default demolauncher looks like on first boot, without customizations:
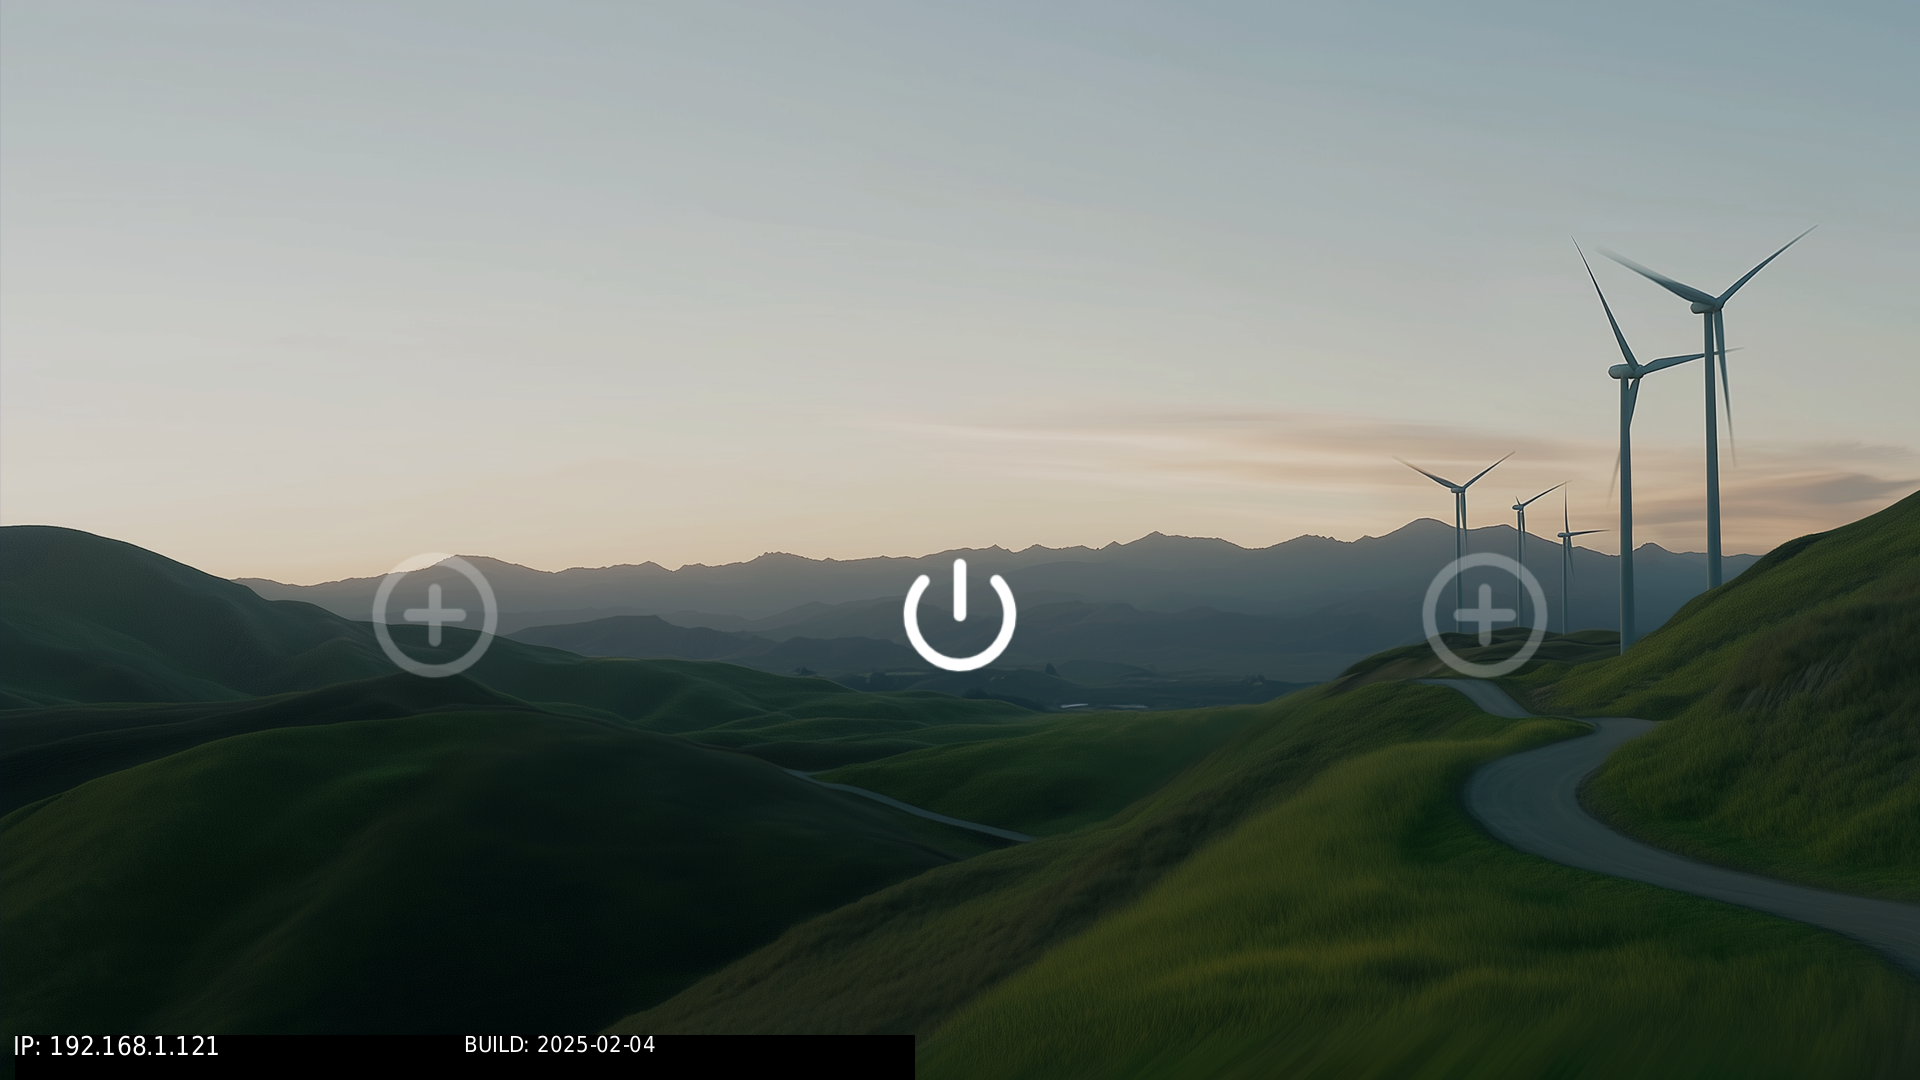
To change the two placeholder icons, left and right, point them to the gles2-gears and vkcubeapp demo applications, respectively.
You can use the larger versions of those desktop icons that are included in the project.
Look for this portion of the system_files.custom.window_managers snippet:
[type=file uid=0 gid=0 perms=0644] etc/desktop_files/right.desktop={
[Desktop Entry]
Name=Placeholder
Exec=true
Icon=/system/share/icons/google/round_add_circle_button_white_translucent.png
Categories=Utilities
}
[type=file uid=0 gid=0 perms=0644] etc/desktop_files/left.desktop={
[Desktop Entry]
Name=Placeholder
Exec=true
Icon=/system/share/icons/google/round_add_circle_button_white_translucent.png
Categories=Utilities
}
Change it to:
[type=file uid=0 gid=0 perms=0644] etc/desktop_files/right.desktop={
[Desktop Entry]
Name=Cube
Exec=/system/bin/vkcubepp
Icon=/system/etc/images/vkcube_large.png
Categories=Utilities
}
[type=file uid=0 gid=0 perms=0644] etc/desktop_files/left.desktop={
[Desktop Entry]
Name=Gears
Exec=/system/bin/gles2-gears
Icon=/system/etc/images/gles2-gears_large.png
Categories=Utilities
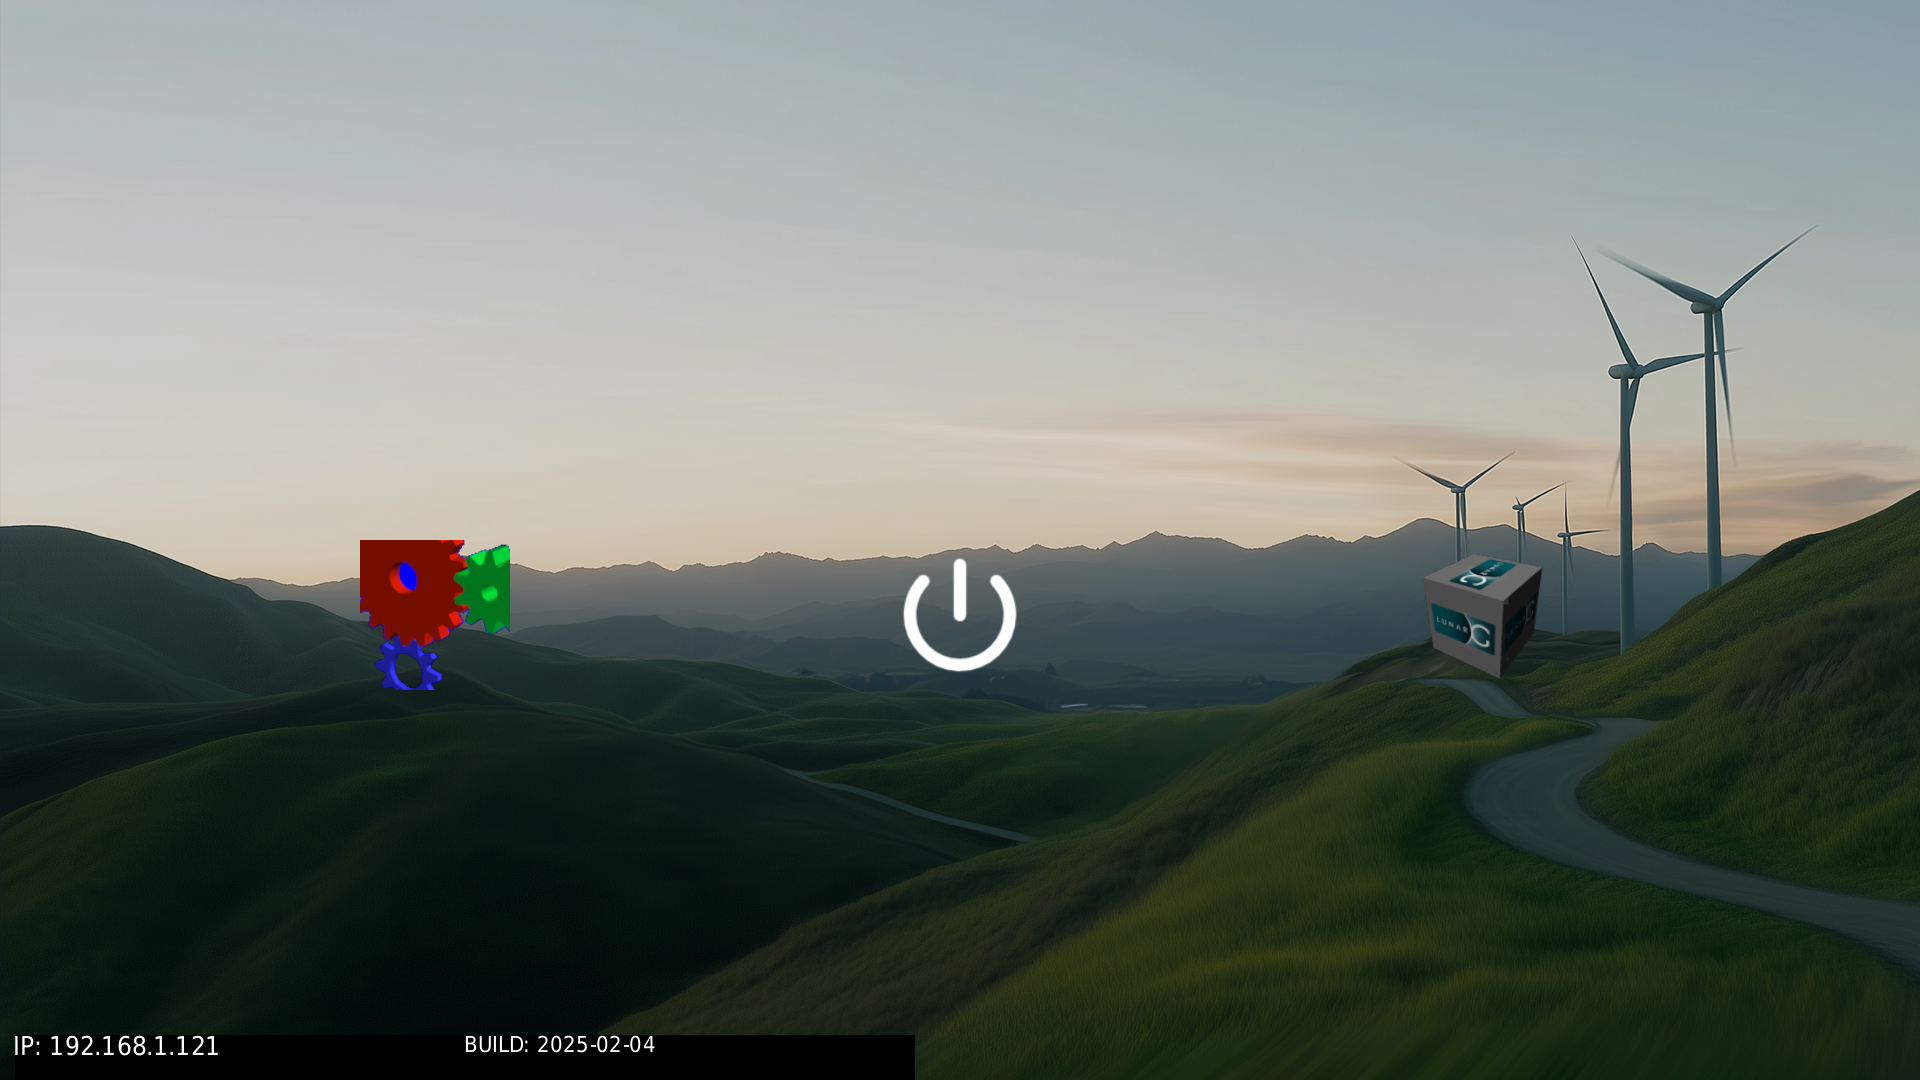
}After you rebuild, flash the image to the SD card and boot the device.
Notice that the placeholder icons have been replaced with color icons that launch the gles2-gears and vkcubeapp demo apps included in the image:
Alternatively, you could apply this update instead:
[type=file uid=0 gid=0 perms=0644] etc/desktop_files/right.desktop={
[Desktop Entry]
Name=Cube
Exec=/system/bin/vkcubepp
Icon=/system/share/icons/google/cube_icon_white_large.png
Categories=Utilities
}
[type=file uid=0 gid=0 perms=0644] etc/desktop_files/left.desktop={
[Desktop Entry]
Name=Gears
Exec=/system/bin/gles2-gears
Icon=/system/share/icons/google/gears_icon_white_large.png
Categories=Utilities
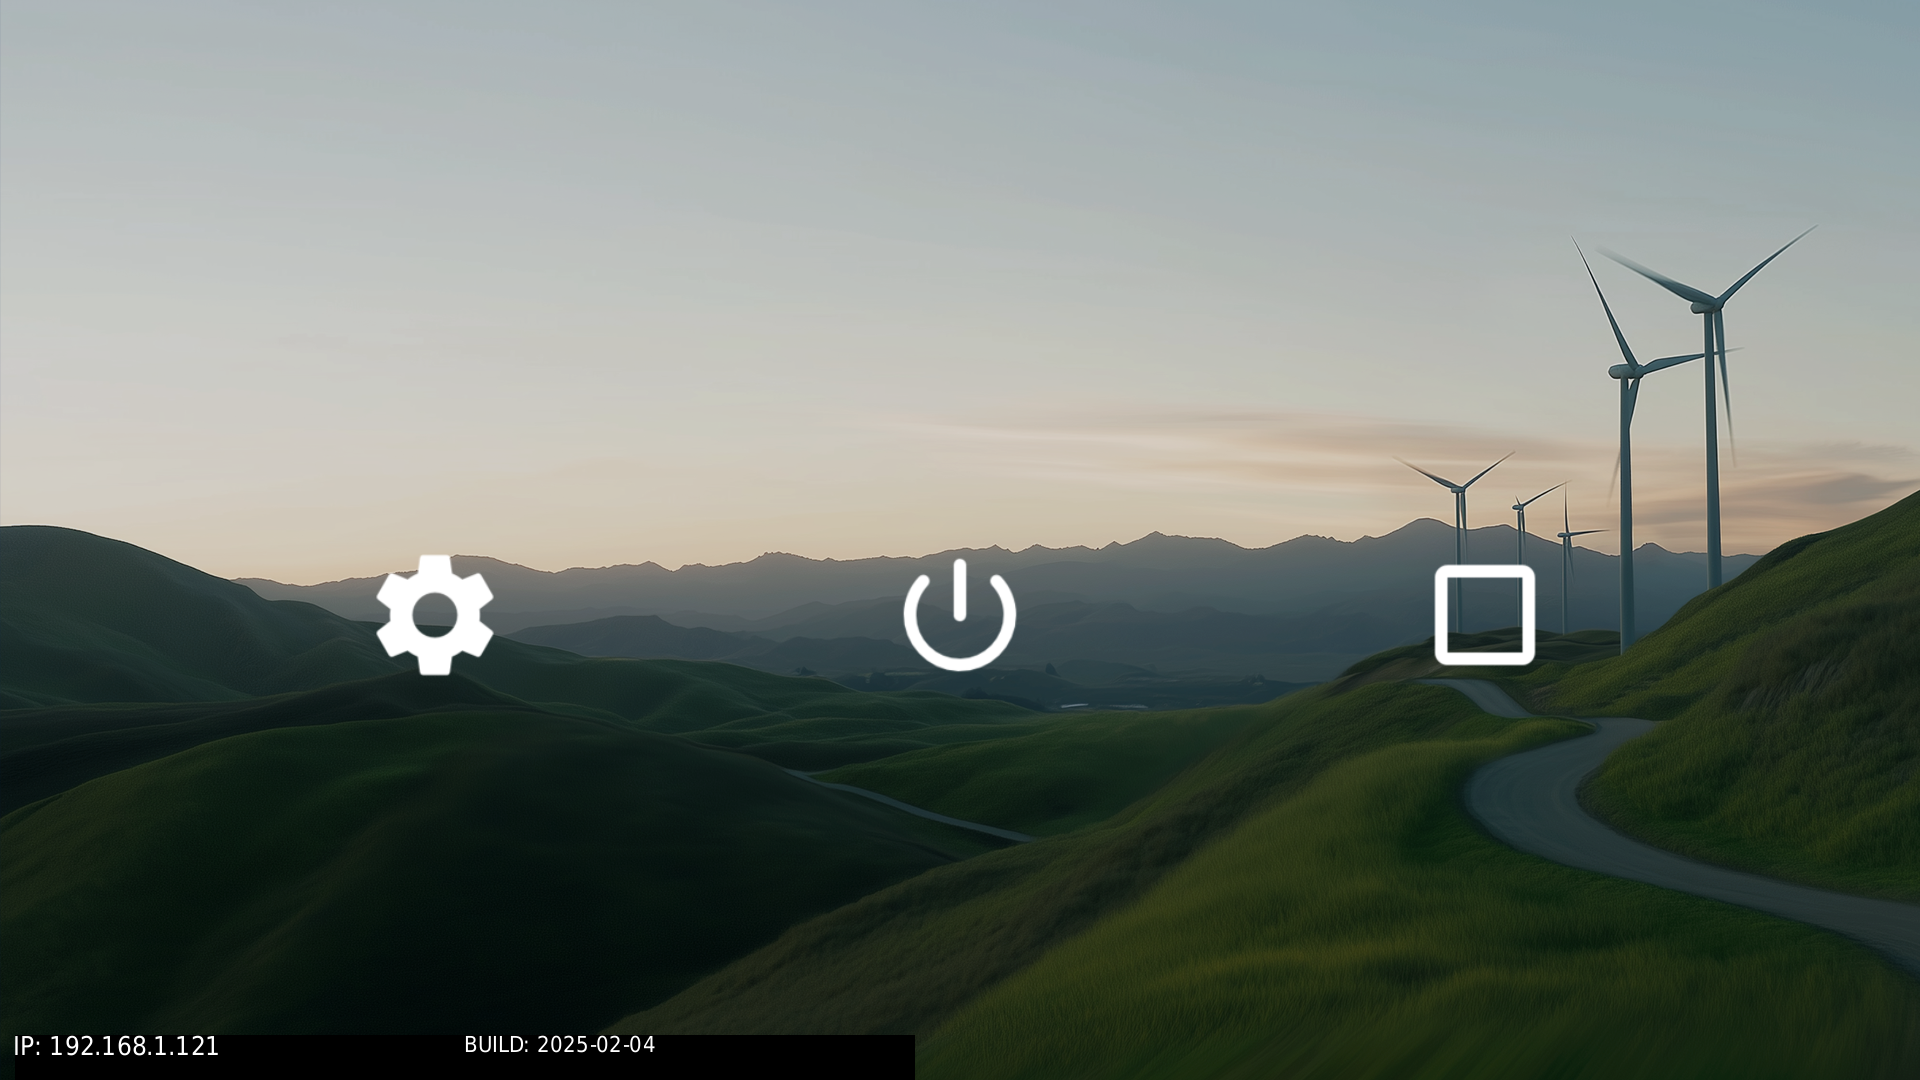
}After you rebuild, flash the image to the SD card and boot the device. Notice that the placeholder icons have been replaced with additional Google Material Design icons. The same demo apps launch with the above change if you prefer the look of flatter icons from this set:
Customizing the demolauncher background image
Aside from modifying the icons, you can also switch the background image used for the demolauncher to one of your own background images.
The first thing you need to do is add the new background image to the window managers snippet.
Look for this portion of the system_files.custom.window_managers snippet:
[type=file uid=0 gid=0 perms=0444] etc/images/background_1080p.png=opt/screenwm/images/background_1080p.pngand then add a similar entry for your own image added to the folder system/opt/screenwm/images. This example adds a background image called DSC_0133_1080p.png, following the line above in the snippet:
[type=file uid=0 gid=0 perms=0444] etc/images/DSC_0133_1080p.png=opt/screenwm/images/DSC_0133_1080p.pngThis step adds a 1080p image, which works with 1080p displays. If your display is 720p, add a customized 720p image instead.
The next change required is to update the post_startup.custom snippet to update the demo launcher command to provide the new background image base name.
Look for this line:
demolauncher -a /system/etc/desktop_files &Change it to:
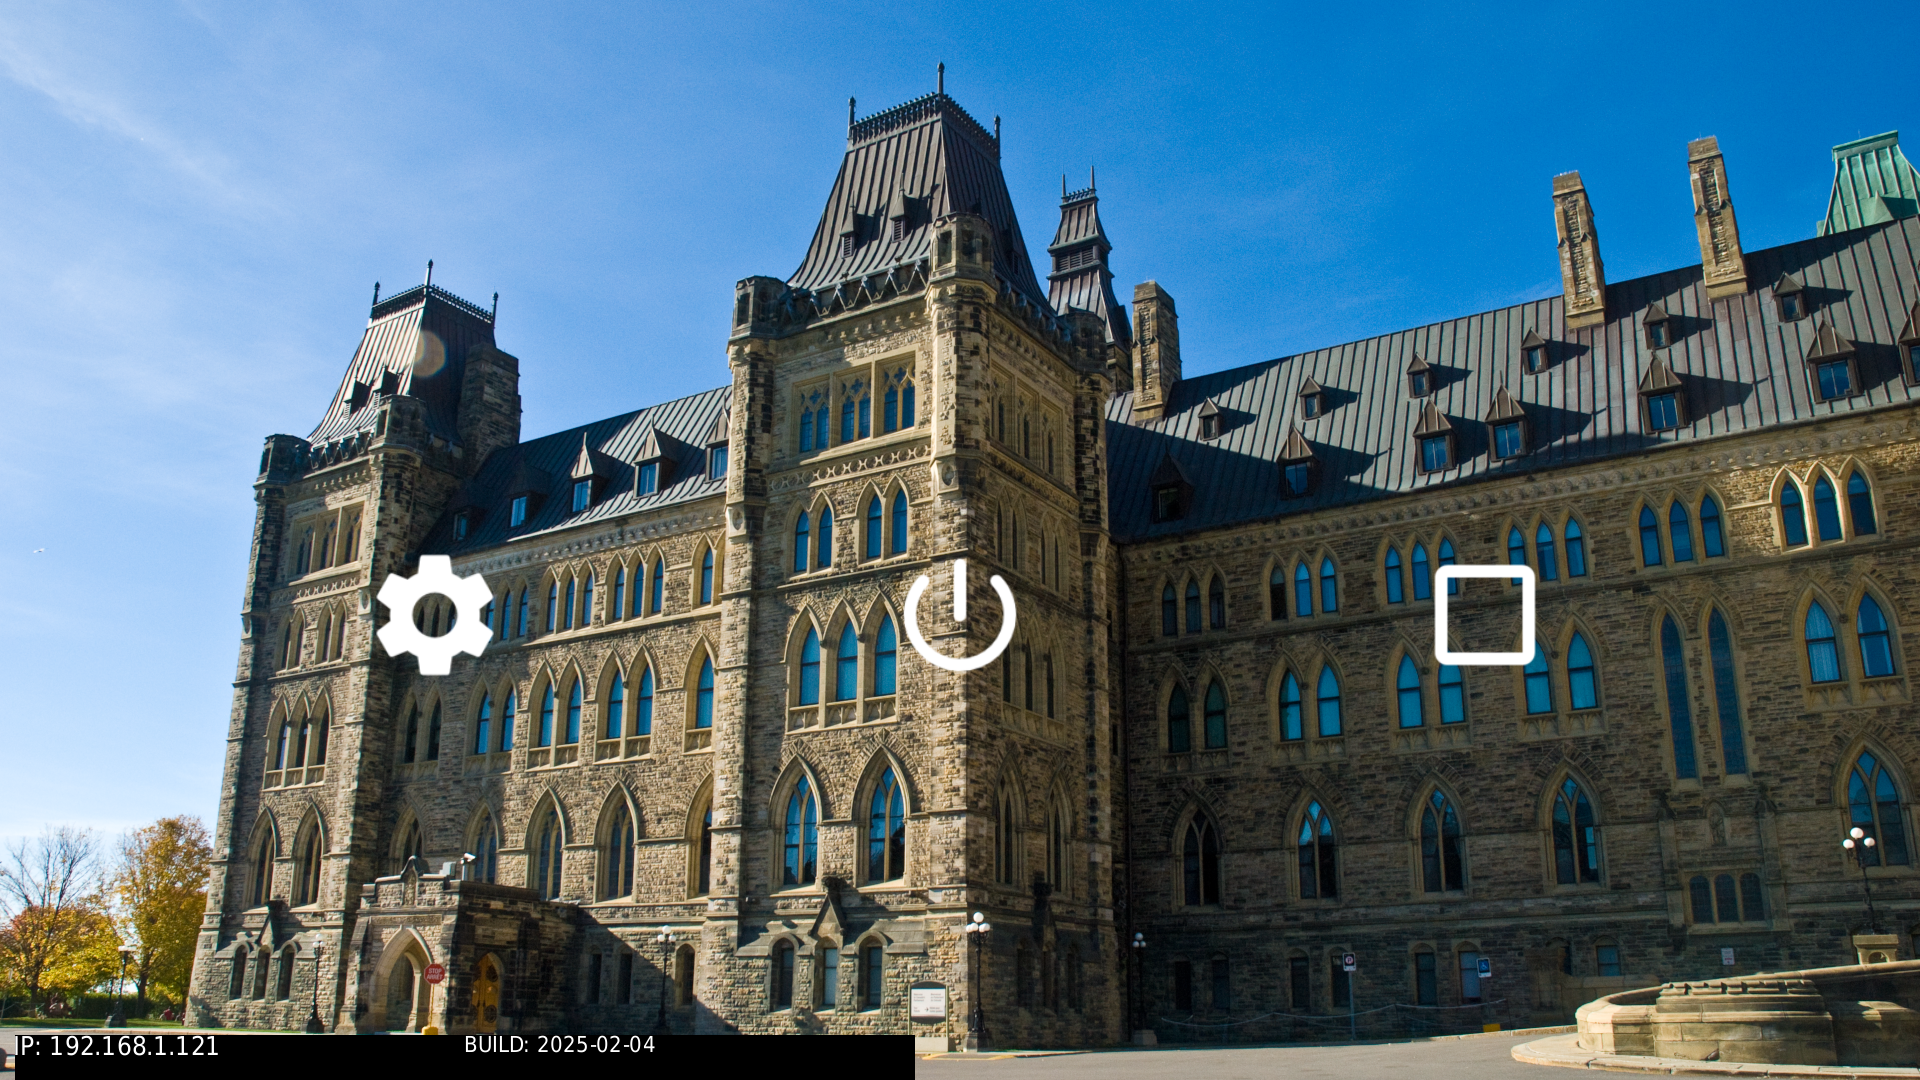
demolauncher -a /system/etc/desktop_files -b /system/etc/images/DSC_0133 &After you rebuild, flash the image to the SD card and boot the device. Notice that the default background image has been replaced with your own:
Switching to the screenwm window manager
If the demolauncher is restricting and you want to try setting up a desktop environment similar to your development host, you'll want to switch to launching screenwm. The following example explains how to do so, and further customizes it in similar ways demolauncher can be customized.
Start by changing the startup sequence. Look for the following lines in the post_startup.custom snippet:
# enable lines below to run the demolauncher and fullscreen
# window manager
echo "Using Full Screen Window Manager..."
fullscreen-winmgr &
demolauncher -a /system/etc/desktop_files &

# enable lines below to run the screenwm window manager
#echo "Using screenwm Window Manager..."
#screenwm &
Change it to:
# enable lines below to run the demolauncher and fullscreen
# window manager
#echo "Using Full Screen Window Manager..."
#fullscreen-winmgr &
#demolauncher -a /system/etc/desktop_files &

# enable lines below to run the screenwm window manager
echo "Using screenwm Window Manager..."
screenwm &
Essentially, you're commenting out the startup calls to launch demolauncher to launch screenwm instead.
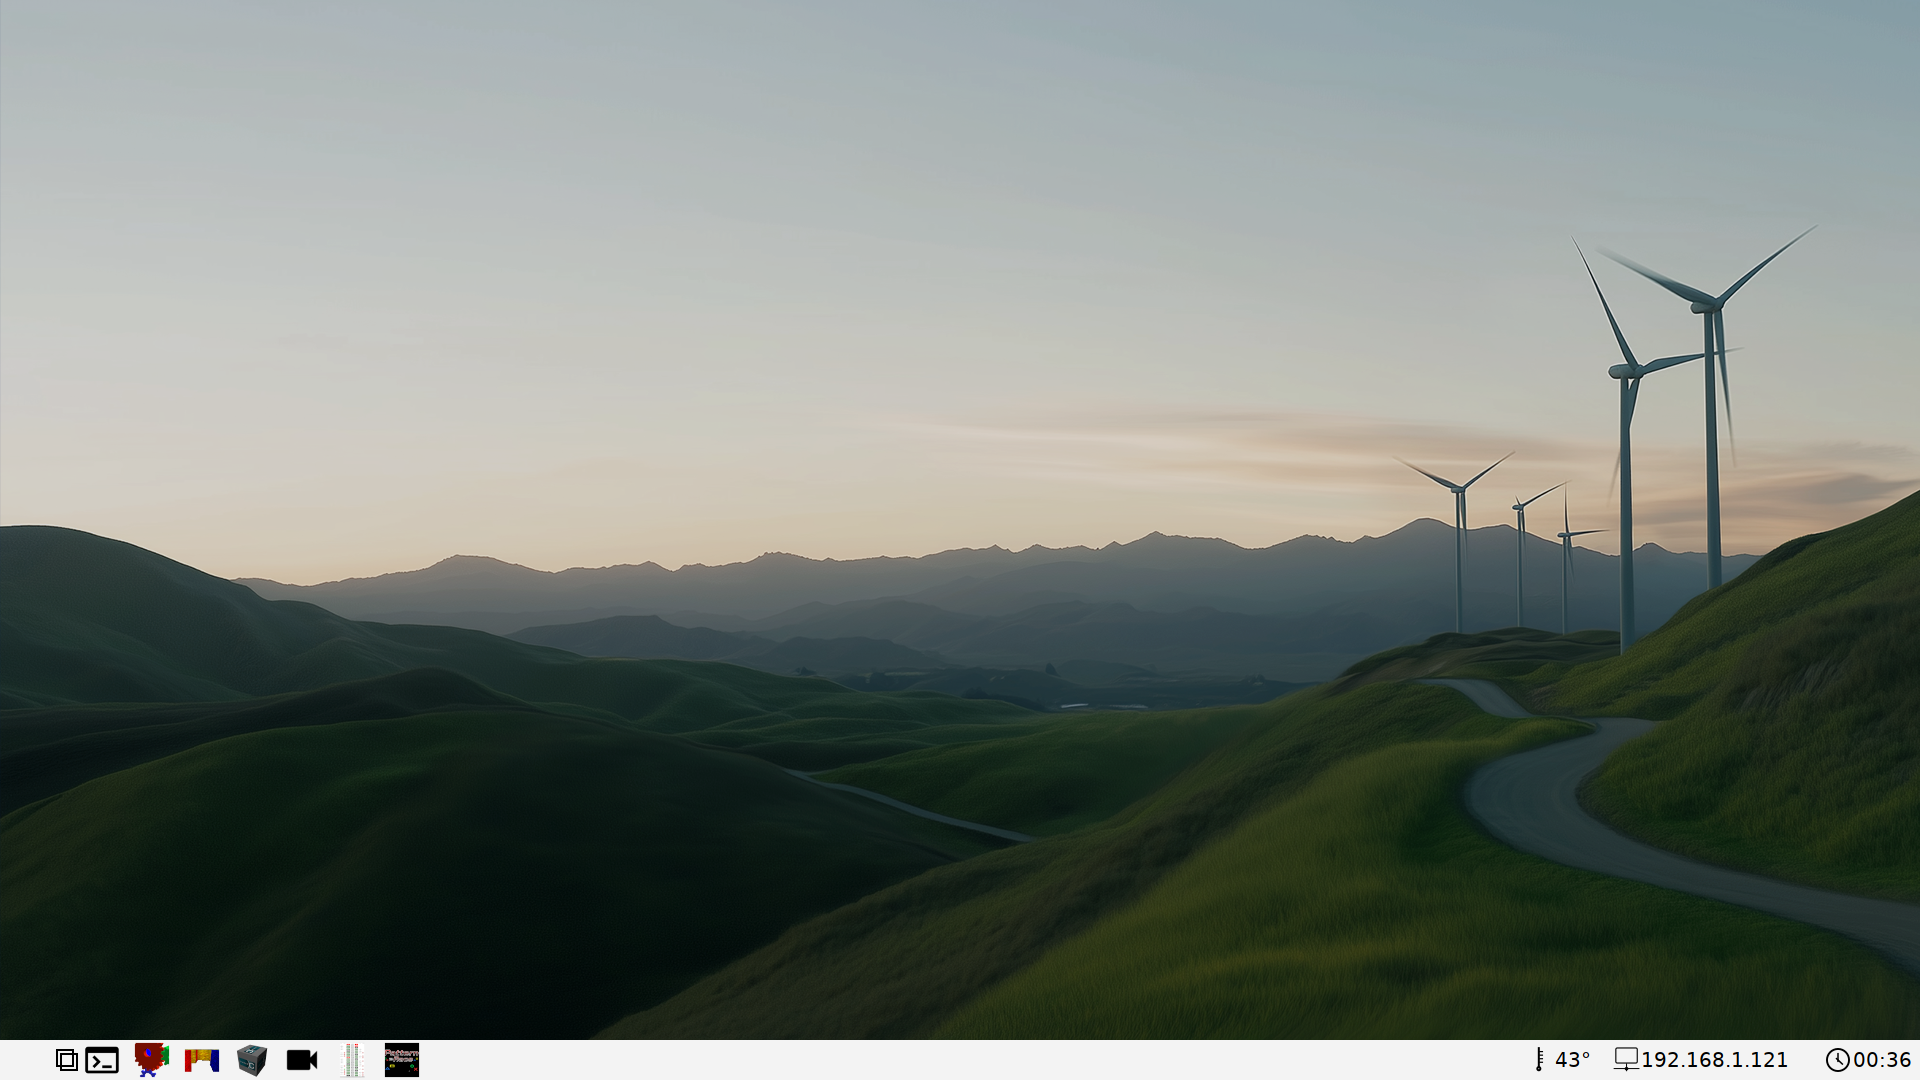
After you rebuild, flash the image to the SD card and boot the device. Note the screenwm desktop with the default background image and default desktop icons:
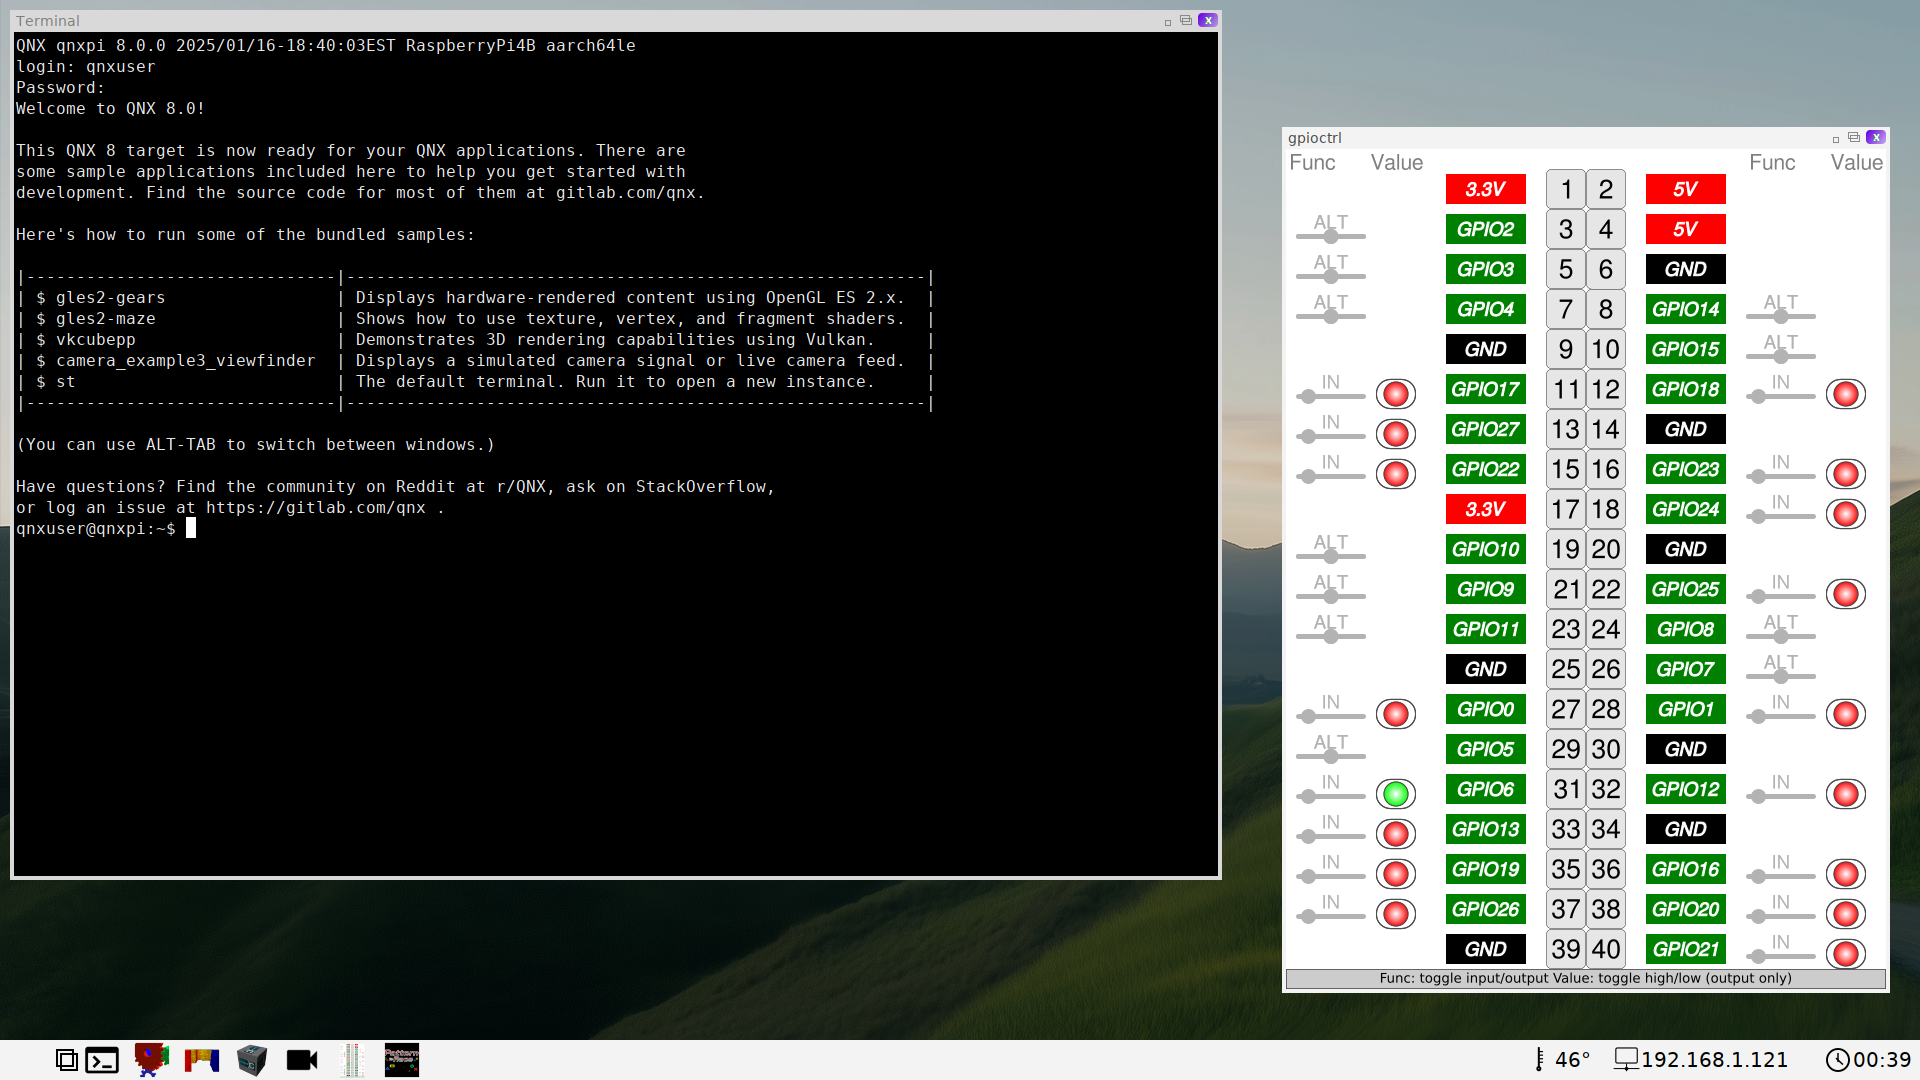
Note that screenwm does not open full screen borderless windows, so you can open multiple apps in separate smaller windows. See the screenshot below showing the same screen with the terminal and gpioctrl apps running:
Customizing the screenwm desktop icons
Customizing the screenwm desktop icons follows a similar approach to how demolauncher icons are customized. One major difference is that there is no preset limit to the number of desktop files you can define for dock icons, although you have a set amount of space to work with on the screen, depending on the display resolution.
Look for this portion of the system_files.custom.window_managers snippet:
[type=file uid=0 gid=0 perms=0644] opt/screenwm/terminal.desktop={
[Desktop Entry]
Name=Terminal
Exec=/system/bin/st /system/etc/st_boot.sh
Icon=images/terminal_black.png
Categories=Utilities
}
[type=file uid=0 gid=0 perms=0644] opt/screenwm/gears.desktop={
[Desktop Entry]
Name=Gears
GenericName=gles2-gears
Exec=/system/bin/gles2-gears
Icon=images/gles2-gears.png
Categories=Utilities
}
[type=file uid=0 gid=0 perms=0644] opt/screenwm/maze.desktop={
[Desktop Entry]
Name=Maze
GenericName=gles2-maze
Exec=/system/bin/gles2-maze
Icon=images/gles2-maze.png
Categories=Utilities
}
[type=file uid=0 gid=0 perms=0644] opt/screenwm/cube.desktop={
[Desktop Entry]
Name=Cube
GenericName=vkcubepp
Exec=/system/bin/vkcubepp
Icon=images/vkcube.png
Categories=Utilities
}
[type=file uid=0 gid=0 perms=0644] opt/screenwm/camera.desktop={
[Desktop Entry]
Name=Camera_Viewfinder
GenericName=camera_example
Exec=/system/bin/camera_example3_viewfinder
Icon=/system/share/icons/google/video_icon_black.png
Categories=Utilities
}
[type=file uid=0 gid=0 perms=0644] opt/screenwm/gpioctrl.desktop={
[Desktop Entry]
Name=GPIO-Controller
GenericName=gpioctrl
Exec=/system/bin/gpioctrl
Icon=images/gpioctrl.png
Categories=Utilities
}
[type=file uid=0 gid=0 perms=0644] opt/screenwm/patrace.desktop={
[Desktop Entry]
Name=Pattern Race
GenericName=patrace
Exec=/system/bin/patrace
Icon=images/patrace.png
Categories=Games
}
The following change swaps out some of the color icons with flatter black Google Material Design icons:
[type=file uid=0 gid=0 perms=0644] opt/screenwm/terminal.desktop={
[Desktop Entry]
Name=Terminal
Exec=/system/bin/st /system/etc/st_boot.sh
Icon=images/terminal_black.png
Categories=Utilities
}
[type=file uid=0 gid=0 perms=0644] opt/screenwm/gears.desktop={
[Desktop Entry]
Name=Gears
GenericName=gles2-gears
Exec=/system/bin/gles2-gears
Icon=/system/share/icons/google/gears_icon_black.png
Categories=Utilities
}
[type=file uid=0 gid=0 perms=0644] opt/screenwm/maze.desktop={
[Desktop Entry]
Name=Maze
GenericName=gles2-maze
Exec=/system/bin/gles2-maze
Icon=/system/share/icons/google/maze_icon_black.png
Categories=Utilities
}
[type=file uid=0 gid=0 perms=0644] opt/screenwm/cube.desktop={
[Desktop Entry]
Name=Cube
GenericName=vkcubepp
Exec=/system/bin/vkcubepp
Icon=/system/share/icons/google/cube_icon_black.png
Categories=Utilities
}
[type=file uid=0 gid=0 perms=0644] opt/screenwm/camera.desktop={
[Desktop Entry]
Name=Camera_Viewfinder
GenericName=camera_example
Exec=/system/bin/camera_example3_viewfinder
Icon=/system/share/icons/google/video_icon_black.png
Categories=Utilities
}
[type=file uid=0 gid=0 perms=0644] opt/screenwm/gpioctrl.desktop={
[Desktop Entry]
Name=GPIO-Controller
GenericName=gpioctrl
Exec=/system/bin/gpioctrl
Icon=images/gpioctrl.png
Categories=Utilities
}
[type=file uid=0 gid=0 perms=0644] opt/screenwm/patrace.desktop={
[Desktop Entry]
Name=Pattern Race
GenericName=patrace
Exec=/system/bin/patrace
Icon=images/patrace.png
Categories=Games
}
See the screenshot below showing screenwm with the updated desktop icons:
Customizing the screenwm background image
Aside from modifying the icons, you can also switch the background image used by screenwm to one of your own background images.
The first thing you need to do is add the new background image to the window managers snippet.
Look for this portion of the system_files.custom.window_managers snippet:
[type=file uid=0 gid=0 perms=0644] opt/screenwm/screenwm.ini={
[General]
background=images/background_1080p.png
taskbar=bottom
screenIdle=20
}
This creates the screenwm configuration file. Next, modify the entry to point to your own image added to the folder system/opt/screenwm/images. This example adds a background image called DSC_0133_1080p.png:
[type=file uid=0 gid=0 perms=0644] opt/screenwm/screenwm.ini={
[General]
background=images/DSC_0133_1080p.png
taskbar=bottom
screenIdle=20
}This step adds a 1080p image, which works with 1080p displays. If your display is 720p, add a customized 720p image instead.
Since the system/opt/screenwm/images folder contents is imported in its entirety, no other snippets modification is required to integrate the image itself.
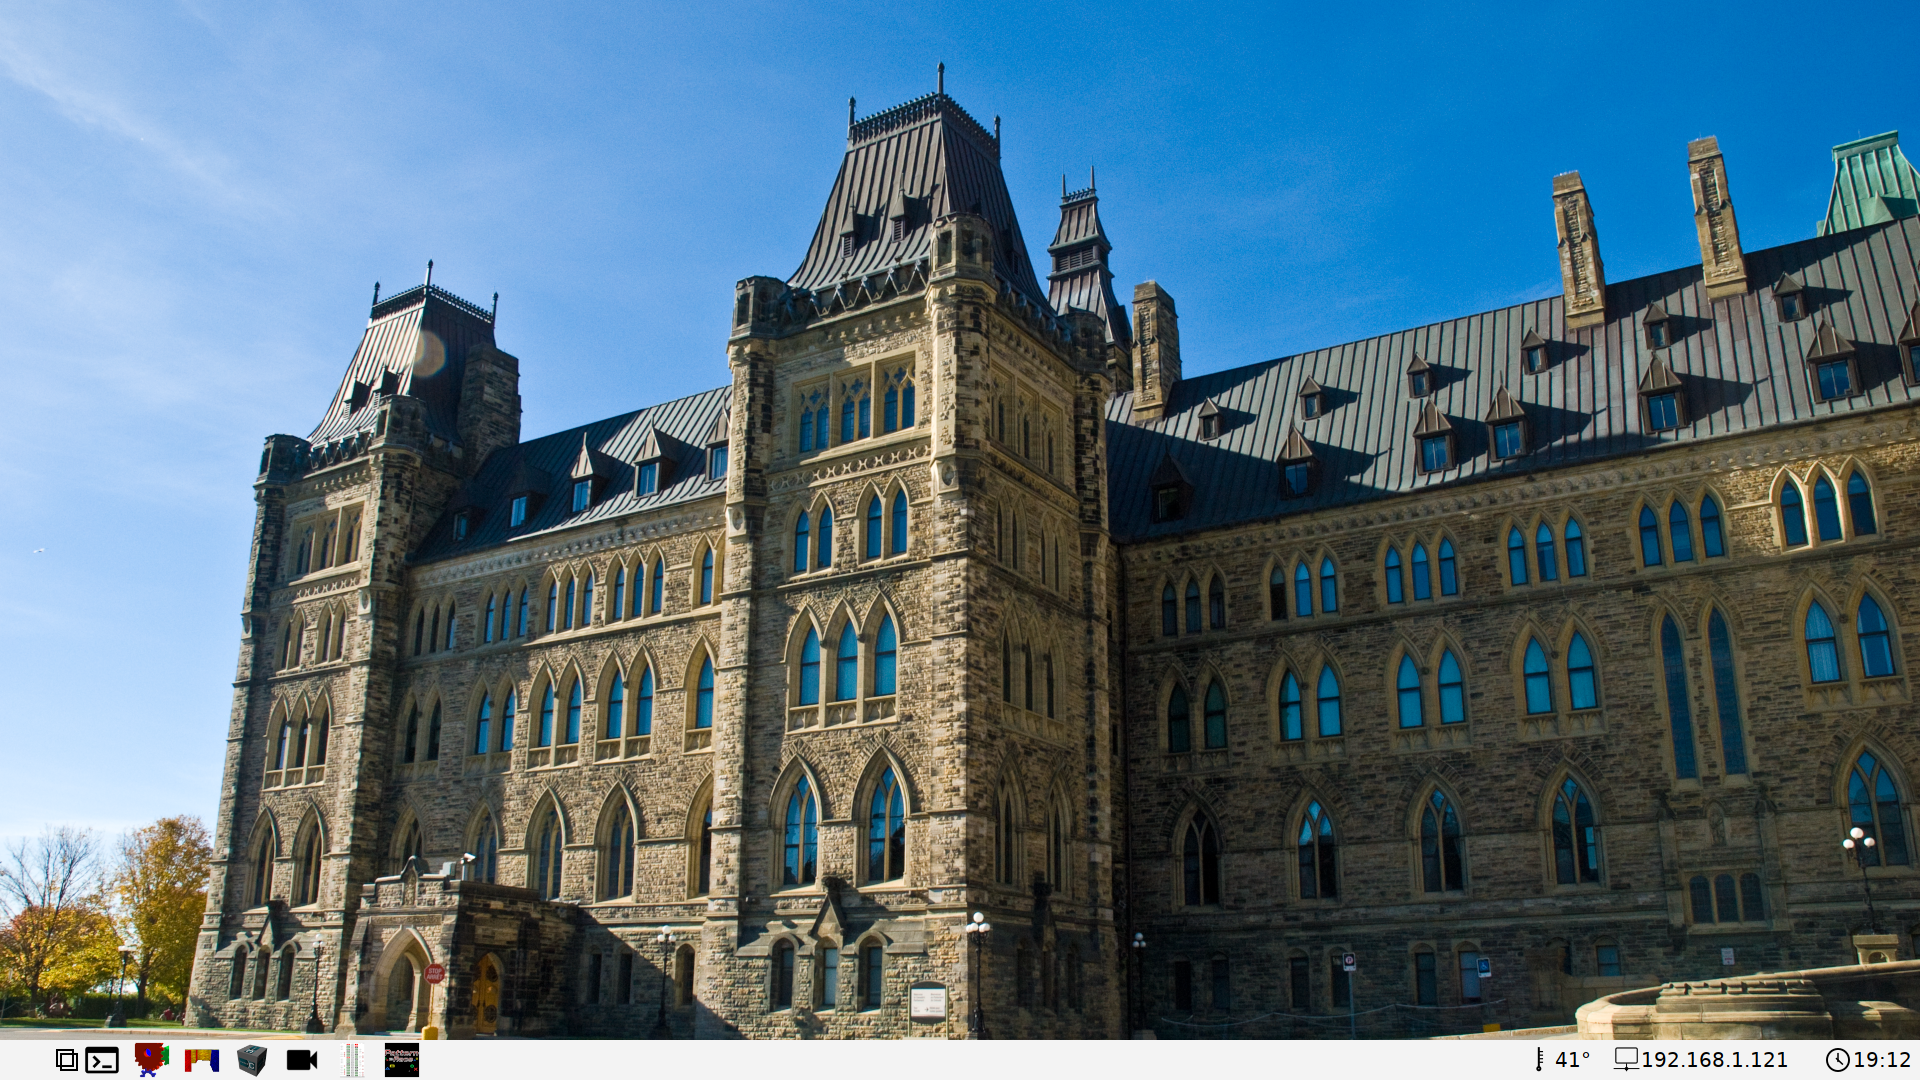
After you rebuild, flash the image to the SD card and boot the device. Notice that the default background image has been replaced with your own:
Thermal throttling
Find instructions for checking the CPU temperature in the Thermal throttling section of the QSTI chapter.
Note that when screenwm is enabled with some of the customizations described above, the CPU temperature is displayed in the screenwm dock at the bottom right of the screen, as shown in the screenwm screenshots. This provides another method of monitoring the CPU temperature.
Touchscreen
Find instructions for adjusting the touchscreen configuration in the Touchscreen section of the QSTI chapter.
To make the equivalent change for this project (i.e., to incorporate it into the build itself), you need to make the change described above to mtouch.conf instead.
The project's mtouch.conf can be directly populated with the configuration info for one of the tested touch screens listed in QNX's documentation on qnx.com, or you may want to flash the image with this file unpopulated, to collect the information you need to fill in the correct parameters for your touchscreen.
For example, the following is the configuration for a Waveshare WS170120 touchscreen:
begin mtouch
  driver = hid
  display = hdmi
  options=verbose=11,vid=0x0eef,did=0x0005,verbose=6,width=4096,height=4096,max_touchpoints=5

  scaling = /system/etc/system/config/scaling.conf
end mtouch
If you have the same touchscreen, you can paste this into the project's mtouch.conf and then rebuild the project to test if the touch screen works.
Of the two window manager options, only the demolauncher and full screen window manager combination handles touch input. screenwm doesn't support touch input at this time.