The ADAS example application demonstrates how to read sensor information from various sensors (lidar, radar, and cameras) to fuse all that information into a single view using the ADAS library.
The reference image should come up running the ADAS example application with the -c /base/etc/system/config/adas_finger_count.conf -b options. You can run this application with camera, lidar, and radar hardware connected to the board or run it with a file camera and file data.
The reference image uses files (prerecorded) that contain lidar and radar data, as well as video that simulate sensors. For demonstrative purposes, there are two viewers available to visualize the data. In a production-level application, rather than visualize the data, you'll likely provide the raw data (e.g., show the video from the camera directly) or even provide visual cues (e.g., warning lights).
- Camera viewer
- The camera viewer shows the perspective of
the driver during a drive. When a traffic light is detected, a box is drawn
around the traffic light. It can be run in another mode where a live camera
is used to display the result of an algorithm that counts the number of
fingers being displayed in the scene.
Note: The traffic light detection algorithm is a custom algorithm for demonstrative purposes and isn't part of the Sensor Framework for QNX SDP. For information about the algorithm, contact your QNX sales representative.
- Point Cloud viewer
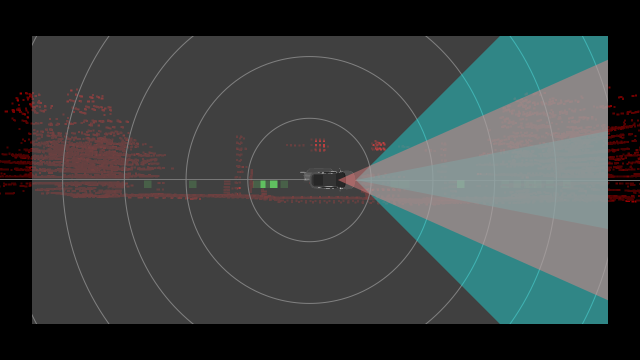
- The point cloud viewer demonstrates how to take various forms of data and fuse them to provide a representation of the objects from the various sensors. Information retrieved from the sensors is shown in a common 3D coordinate system. On the display, lidar firings show up as points while data from other sensors show up as boxes.
- -b: (Optional) Enable this option if starting the application from bootup in order to disable the interactive menu.
- -c path: (Required) Use the configuration file (specified by path) to configure and initialize the ADAS library.
-
-m mode: (Optional)
Run adas_example in the specified mode. Valid modes are:
- manual — (Default) The mode that presents you menu options to select the example to run.
- script — The mode that runs a viewer sequence that's specified in your configuration file. When you specify script mode, you can also specify the viewer sequence that you want to run by using the -s option. If you don't specify a sequence, adas_example uses viewer_sequence_1 in your configuration.
- -s sequence: (Optional) Run adas_example with the viewer sequence that's specified by sequence. The value of sequence is in the range [0..n-1] where n is the total number of viewer sequences in your configuration file. Therefore, the value to use for sequence is always 1 less than the number in the name of the viewer sequence that you want to run. For instance, if you want to run viewer_sequence_1, specify 0 for sequence.
Run the application
- Connect to your board using ssh.
- If another example application is running, type slay example_app
in your ssh session to stop it; for instance:
# slay camera_mux
The application should stop running and you should see a blank display. - Type adas_example with the -c option to run the
ADAS example in manual mode:
# adas_example -c /base/etc/system/config/adas_camera_sensors.conf
After you run the command, a menu appears. You can type letters from the menu and press Enter to change the view. The views presented in the menu depend on the views supported by the active viewer (as specified in your ADAS library configuration file):
# adas_example -c /base/etc/system/config/adas_camera_sensors.conf

# Please select the view type or zoom factor:
        1 to 6) Scale factor from 1x to 32x (Point cloud or Radar only)
        c) Change viewer
        f) Forward
        v) Driver
        d) Radar
        n) Navigation
        r) Start Record
        s) Stop Record
        x) Exit the application
- Camera viewer
- In the camera viewer, pressing the number keys does nothing.
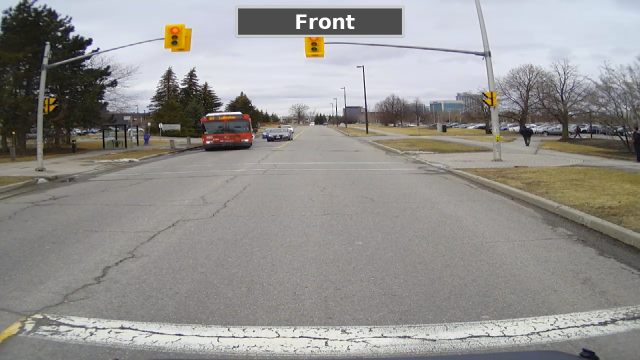
- Forward (f)
- This is a view from the front connected camera.
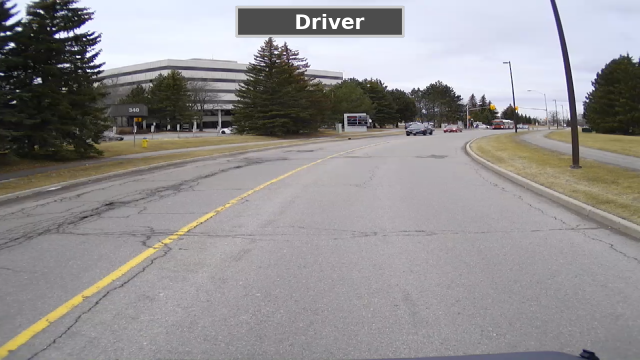
- Driver (v)
- This is the view from the driver's perspective,
which in this case is similar to the Forward view.
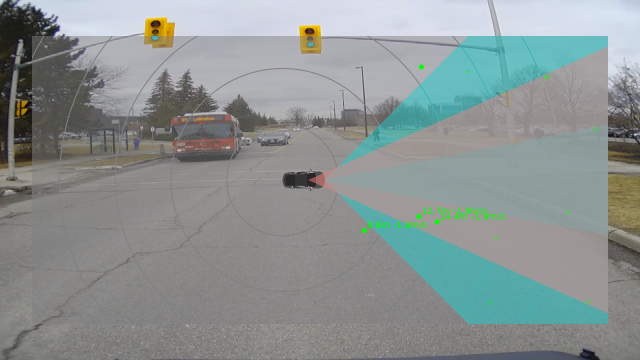
- Radar (d)
- The radar view consists of a 2D model of the car with concentric circles centered around
the car to help measure distance. The supported field of view of the radar is drawn on
the video as it is configured in the sensor configuration file. The detected radar tracks
are displayed as 2D points with associated distance and speed measurements.
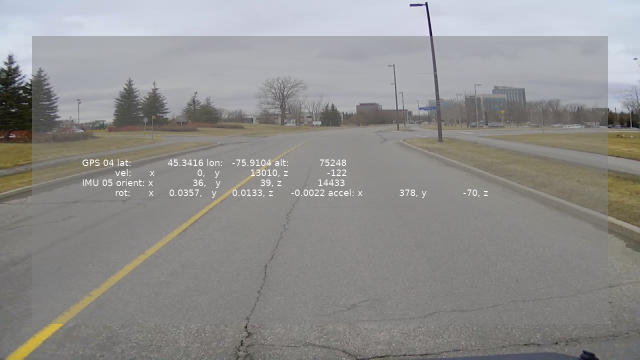
- Navigation (n)
- This is a view of the video with raw GPS and sensors data overlaid on the video.
- Point Cloud viewer
- In the point cloud viewer, pressing a number key changes the zoom level.
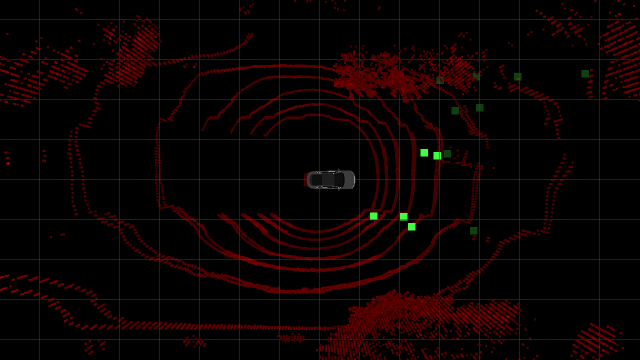
- Bird's Eye (t)
- This is a point cloud of an aerial (above) view of the objects detected
by the sensors on your system.
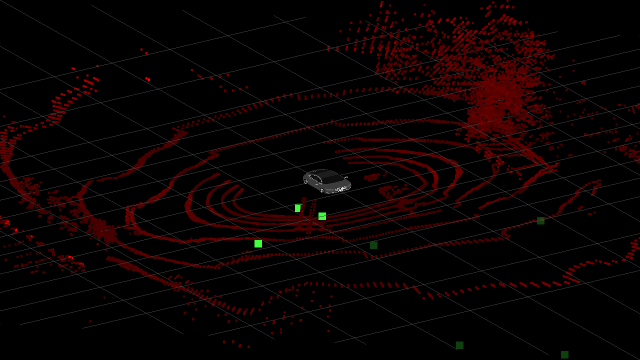
- Isometric (i)
- This is a point cloud view of the objects detected
by the sensors and cameras on the system.
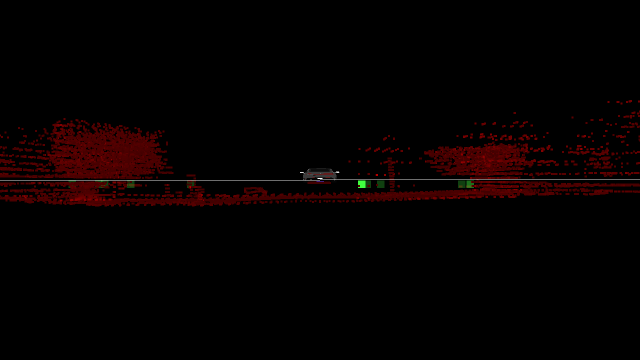
- Forward view (f)
- This is a point cloud view of what's occurring from the back of the vehicle.
For this reason, you see a representation of the back of the vehicle.
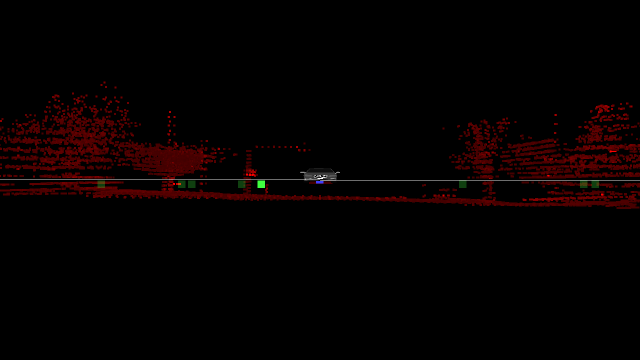
- Backward (b)
- This is a point cloud view of what's occurring when looking backwards from the front of the
vehicle. For this reason, you see the front of the car.
- Radar (d)
- The radar view consists of a 2D model of the car with concentric circles centered around
the car to help measure distance. The supported field of view of the radar is drawn on the
video as it is configured in the sensor configuration file. The detected radar tracks are
displayed as 2D points with associated distance and speed measurements.
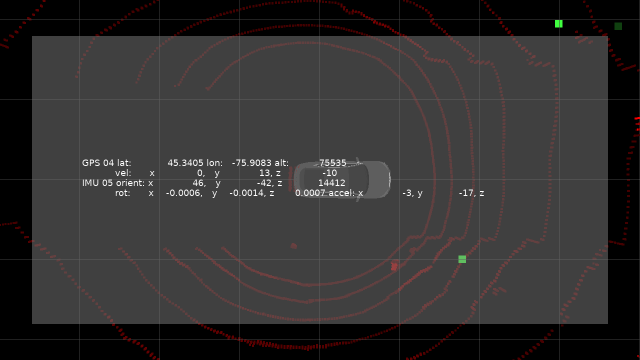
- Navigation (n)
- This is a point cloud representation of the vehicle and its surroundings with raw GPS and sensor data
overlaid on it.
Build the ADAS example application
On your host computer, the source code is provided for the ADAS example application. You can build the source code and deploy the resulting binary onto your target.
- A ZIP file installed with the QNX SDP 7.1 Sensor Framework Base package is located at installation_directory/source/sf-adas-sensor-examples-version.zip. You must extract it to get the ZIP file for the ADAS examples.
- In the extraction_directory/source_package_adas_sensor directory, there's a README.txt that you can follow to build the application.
- Create a backup of the original adas_example file on your target. This file is found in the target's /usr/bin/ directory.
- Deploy your newly built version of the ADAS example application, by navigating to extraction_directory/source_package_adas_sensor/apps/adas/adas_example/nto/aarch64/so.le on your host and transferring the adas_example file to the /usr/bin/ directory on the target. You can use the QNX Momentics IDE to transfer the file.
- Connect to your target through a terminal connection and run the ADAS example application.