The first stage in writing a Qt HMI is to create a project in Qt Creator and add the files that define the UI, application entry point, and how to package the project components.
In particular, the project will contain:
- A Qt Project file (QtHmi.pro) to store the project configuration settings
- A QML file (main.qml) to define the main UI elements for the application
- A QRC file (resources.qrc) to package the project resources into the binary
- A CPP file (main.cpp) to contain the entry-point function for starting the application
To create a Qt project and start defining its project file:
-
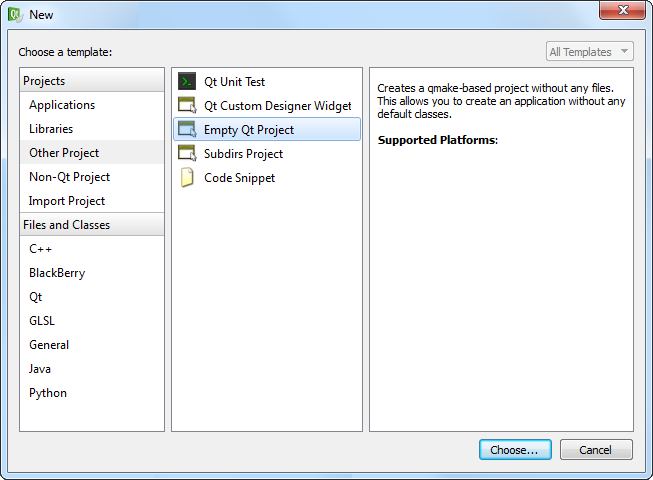
In the Projects dialog, choose Other Project,
then Empty Qt Project, and then click Choose...
-
In the Location page of the Empty Qt Project dialog,
name the project QtHmi, then click Next.
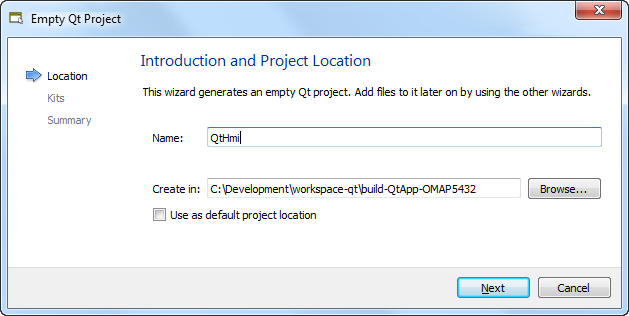 Note: All files related to the project—C++ and QML source code, resource files, and the project configuration file—will be stored in the folder specified on the Create in line in this dialog.