After defining a QNX device to represent your target system, you must set up a toolchain in Qt Creator. The toolchain defines the build and run environment based on the QNX QDF installation and the compiler, debugger, and target device configurations.
To configure a toolchain in Qt Creator:
-
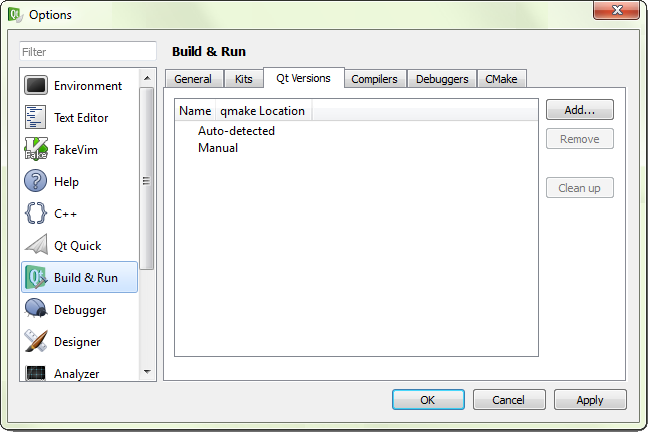
Choose Build & Run in the left-side menu, click the Qt Versions tab
in the main viewing area, then click the Add... button on the right side.
-
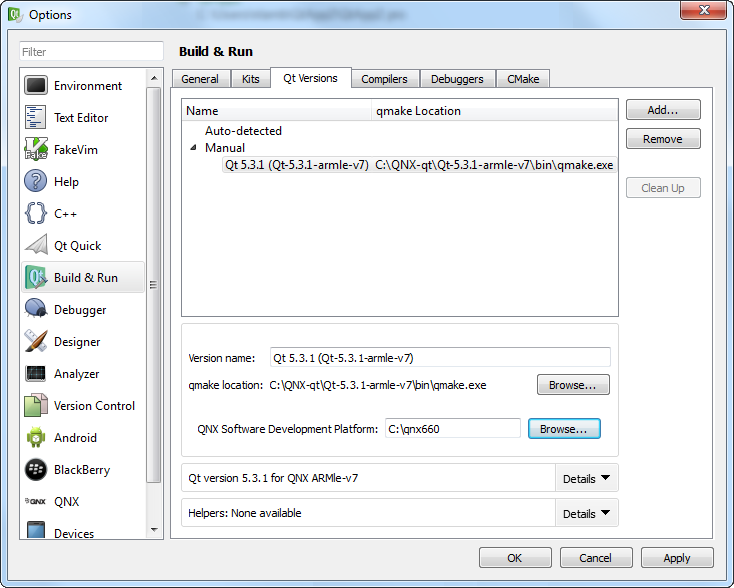
At the bottom of the dialog, on the line that reads QNX Software Development Platform, click
Browse....
-
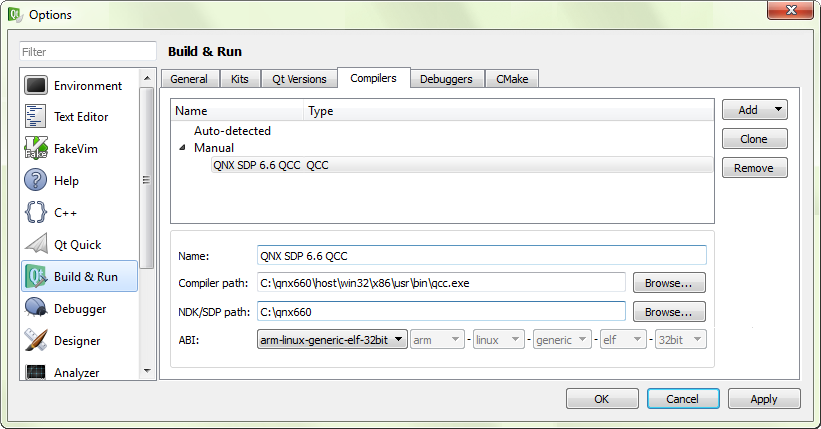
Fill in the compiler fields:
- In the Name field, enter QNX SDP 6.6 QCC.
- On the Compiler path line, click Browse... to open the file selector. On Windows, navigate to DEFAULT_SDP_PATH\host\win32\x86\usr\bin and choose qcc.exe. On Linux, navigate to DEFAULT_SDP_PATH/host/linux/x86/usr/bin and choose qcc. Click Open to confirm the setting.
- On the NDK/SDP path line, click Browse... to open the file selector, navigate to DEFAULT_SDP_PATH, then click Select Folder.
- In the dropdown list for ABI, select arm-linux-generic-elf-32bit.
-
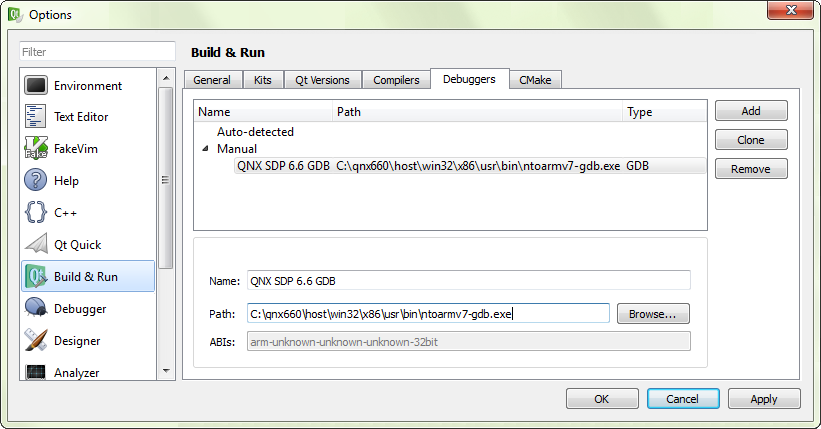
Fill in the debugger fields:
- In the Name field, enter QNX SDP 6.6 GDB.
- On the Path line, click Browse... to open the file selector. On Windows, navigate to DEFAULT_SDP_PATH\host\win32\x86\usr\bin and choose ntoarmv7-gdb.exe. On Linux, navigate to DEFAULT_SDP_PATH/host/linux/x86/usr/bin and choose ntoarmv7-gdb. Click Open to confirm the setting.
-
Fill in the kits fields:
- Name the kit something meaningful, like QNX SDP 6.6 – OMAP5432.
- In the Device Type dropdown list, select QNX Device.
- In the Device dropdown list, select the device configured earlier (e.g., OMAP5432).
- In the Compiler dropdown list, select QNX SDP 6.6 QCC.
- In the Debugger dropdown list, select QNX SDP 6.6 GDB.
- In the Qt version dropdown list, select Qt 5.3.1 (Qt-5.3.1-armle-v-7).

After you've configured a QNX device and a toolchain, you can begin developing Qt apps for QNX Apps and Media systems!
When creating Qt apps, you can select your Build & Run Kit in the New Project wizard to use
the build and run settings that you configured earlier.