Creating a project for a Qt App

The first task in writing a Qt App is to create a project in Qt Creator and add the necessary components such as the UI definition file, main source file, and an icon.

To create a Qt project:
  1. Launch Qt Creator.
  2. In the File menu, choose New File or Project...
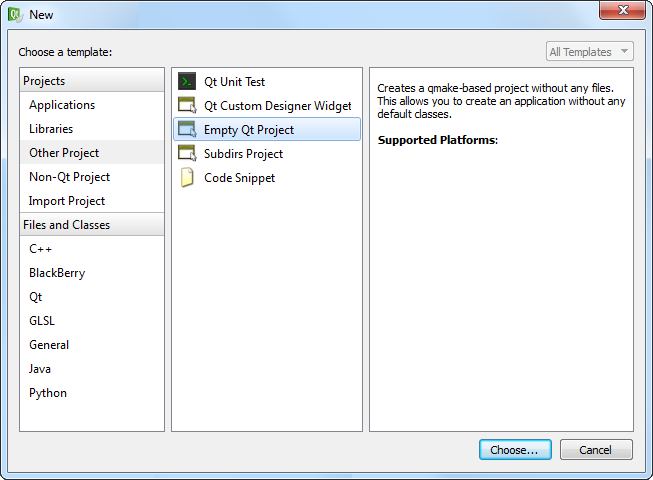
  3. In the Projects dialog, choose Other Project, then Empty Qt Project, and then click Choose...
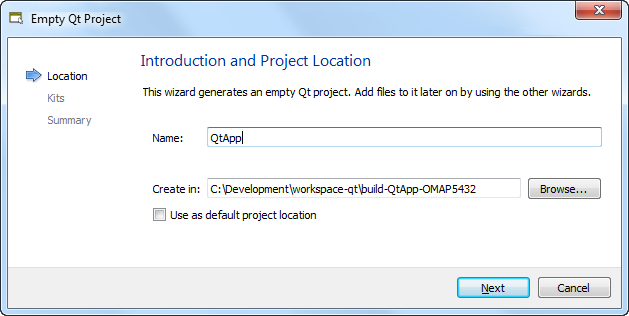
  4. In the Location page of the Empty Qt Project dialog, name the project QtApp, then click Next.
  5. In the Kits page, choose the kit that you configured when setting up Qt Creator (e.g., QNX SDP 6.6 – OMAP5432), then click Next.

    To define a kit, you must first define toolchain settings (e.g., compiler, debugger), as explained in "Configuring a toolchain in Qt Creator".

  6. In the Summary page, click Finish to save your new project's settings.