3. Creating a program project
In the IDE, from the File menu, select
,
and then select QNX Executable:
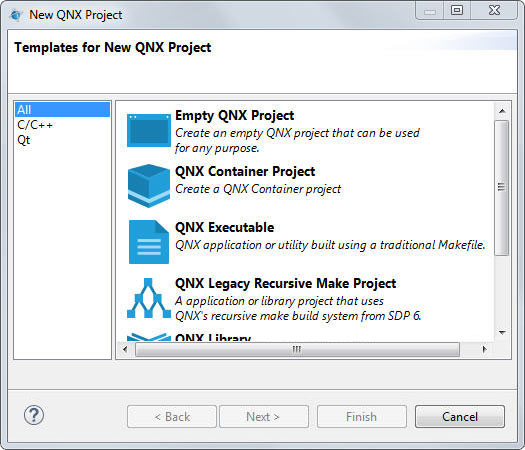
Click Next.
In the resulting dialog, give your project a name:
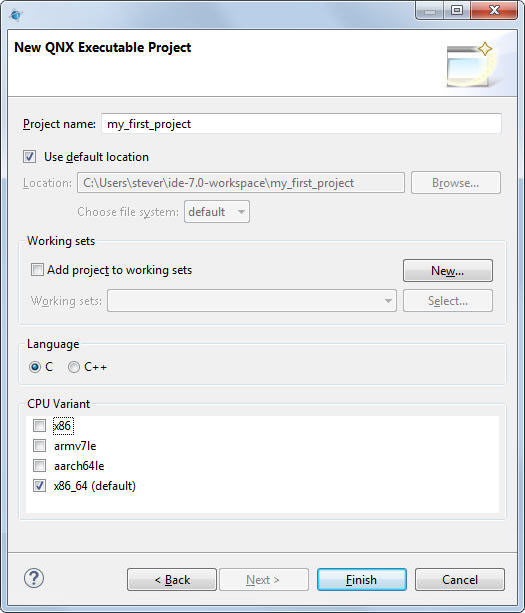
Leave Use default location checked and Add project to working sets unchecked. Under CPU Variant, select a CPU architecture for the binary you're creating.
Click Finish.
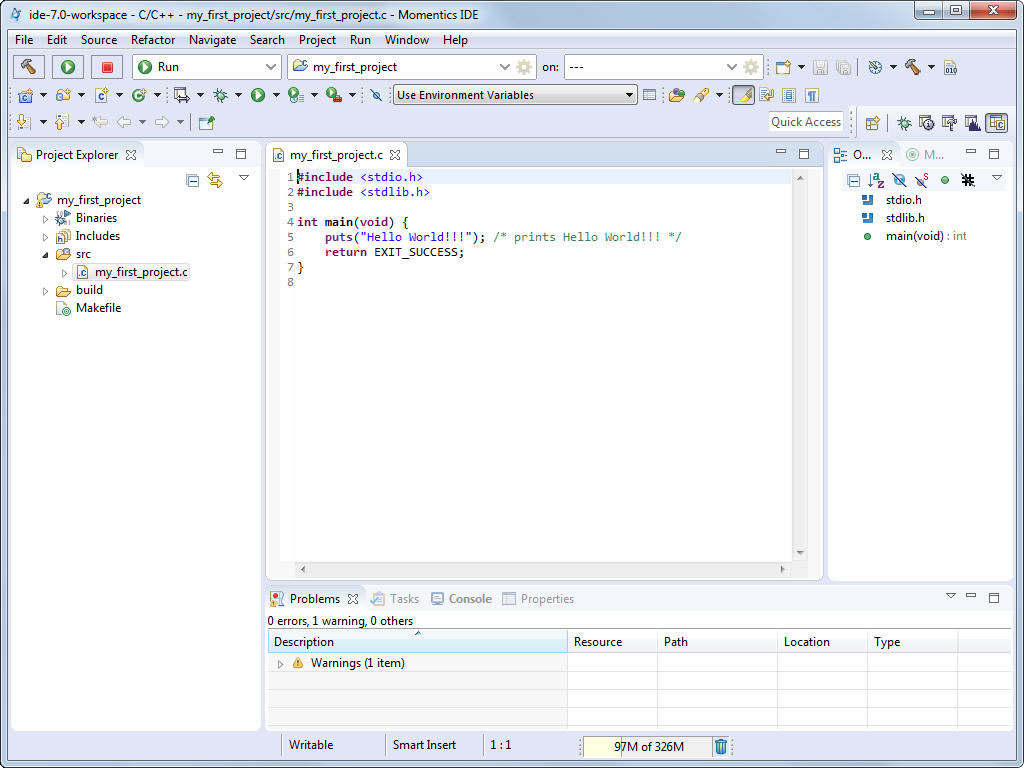
A ready-to-use project structure with a makefile is created for you,
including a small program (Hello World!!!
), which you'll find in an automatically generated source code file.
The IDE now switches to the C/C++ perspective, which features the navigator, the editor, and
other useful views, areas that display information that's relevant to the task at hand:
Page updated: