To create a container project, you must have at least one existing project to put in it.
To create a container project:
-
Select .
-
Click Next.
-
Name the container.
Note: Although the wizard allows it, don't use spaces or any of the following characters in your project name:
| ! $ ( " ) & ` : ; \ ' * ? [ ] # ~ = % < > { }
These characters cause problems later with compiling and building,
because the underlying tools such as
make and
qcc don't like them.
-
Click Next.
-
In the New Project dialog, click Add Project….
-
Select all of the projects (which could be other containers) that you want to include in this container,
then click OK.
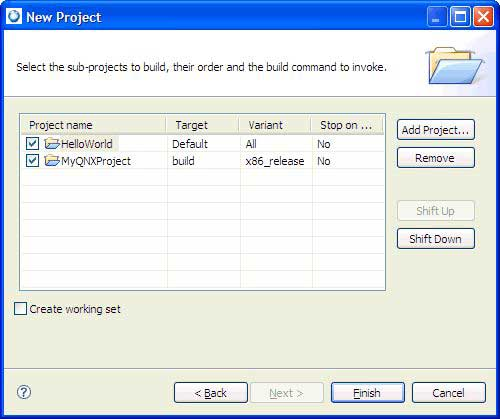
Each project has an entry for make targets under the Target field. You can click an entry
to get a menu that lets you change the selection. The Default entry means don't pass any targets to the
make command; QNX C/C++ projects interpret this as a rebuild command.
If a project is a container project, this field represents the build configuration for that container.
Note: You can set the default type for the build for QNX C/C++ projects by opening the Preferences dialog box
(), and then choosing
.
-
If the project is a QNX C/C++ project, you can click its Variant entry to select the build variant for each project
you wish to build. You can choose All (for every variant that has already been created
in the project's folder) or All Enabled (for just the variants you've selected in the project's
properties). Note that the concept of variants makes sense only for QNX C/C++ projects.
-
If you wish, click the Stop on error entry to determine whether an error in that specific
project causes the overall container build to fail and therefore, to stop.
-
If you want to reduce clutter in the C/C++ Projects view, create a working set for your container.
The working set contains all of the projects initially added to the container. Note that the working set and the
container have the same name.
Note: If you later add elements to or remove elements from a container project, the working set isn't
updated automatically.
-
Click Finish. The IDE creates your container project.
To select a working set, click the down-arrow at the top of the Project Explorer view, and then choose
Select Working Set….