In this tutorial, you'll use the IDE's Import wizard, which lets you import
existing projects, files, as well as files from ZIP archives into your
workspace.
Note: You can use various methods to import source into the IDE. For details,
see the
Managing Source Code chapter.
Follow these steps to bring one of your existing C or C++ projects into the
IDE:
-
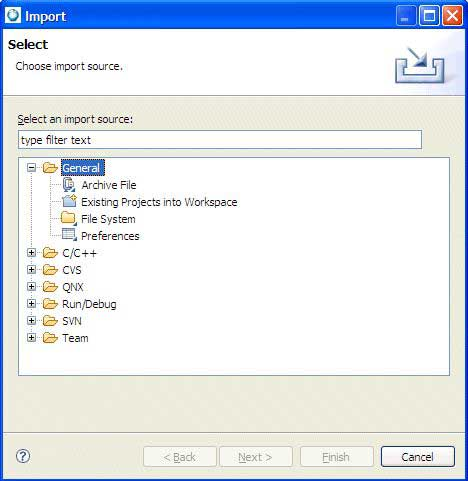
Select to open the Import wizard.
-
In the Import wizard, select .
-
Click Next.
The IDE shows the Import Project From Filesystem
panel.
-
Do one of the following:
-
Enter the full path to an existing project directory in the Select root directory field, or click Browse… to select a project directory using the
file selector. This location refers to the Root directory in the File
System to start scanning for projects to import.
-
For archived files, in the Select archive file
field, type in the full path or click Browse to
select the path on the file system. This archive file refers to the
location to scan for projects to import.
-
In the Projects list, select the projects that you want
to import from the location you specified.
Use the following buttons to help you make your selections:
- Select All — Select all of the projects
that were found for import.
- Deselect All — Deselect all projects in the
list.
- Refresh — Rescan the selected source
location for projects to import.
-
Optional: Select the Copy projects into workspace option
to cause the imported project to be copied into the current workspace.
-
Click Finish to import the selected project into your
workspace.
Congratulations! You've just imported one of your existing projects into the IDE.