- on Windows, choose from the Start menu; you can also click the desktop icon with the same label, which is added when you install QNX SDP
- on Linux, run base_directory/qnxmomentics/qde, where base_directory is where you installed QNX SDP
- on macOS, click the icon labelled QNX Momentics IDE from the launchpad; this icon is added when you install QNX SDP
The first time you start the IDE, it asks you to choose a
workspace, a folder where it can store your projects and other files.
The IDE then displays its Welcome page.
When you're ready to start, click the Workbench icon in the upper right corner:
![]()
Now create a project: from the File menu, select
,
and then select QNX Executable:

Click Next.
In the resulting dialog, give your project a name:
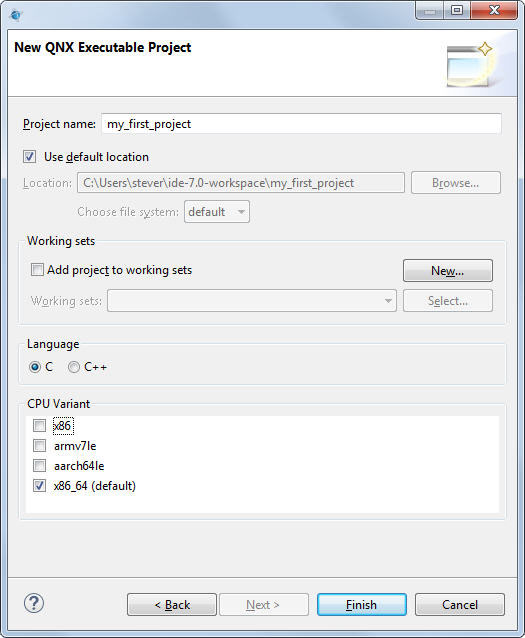
Leave Use default location checked and Add project to working sets unchecked, and then select a CPU architecture for the binary you're creating.
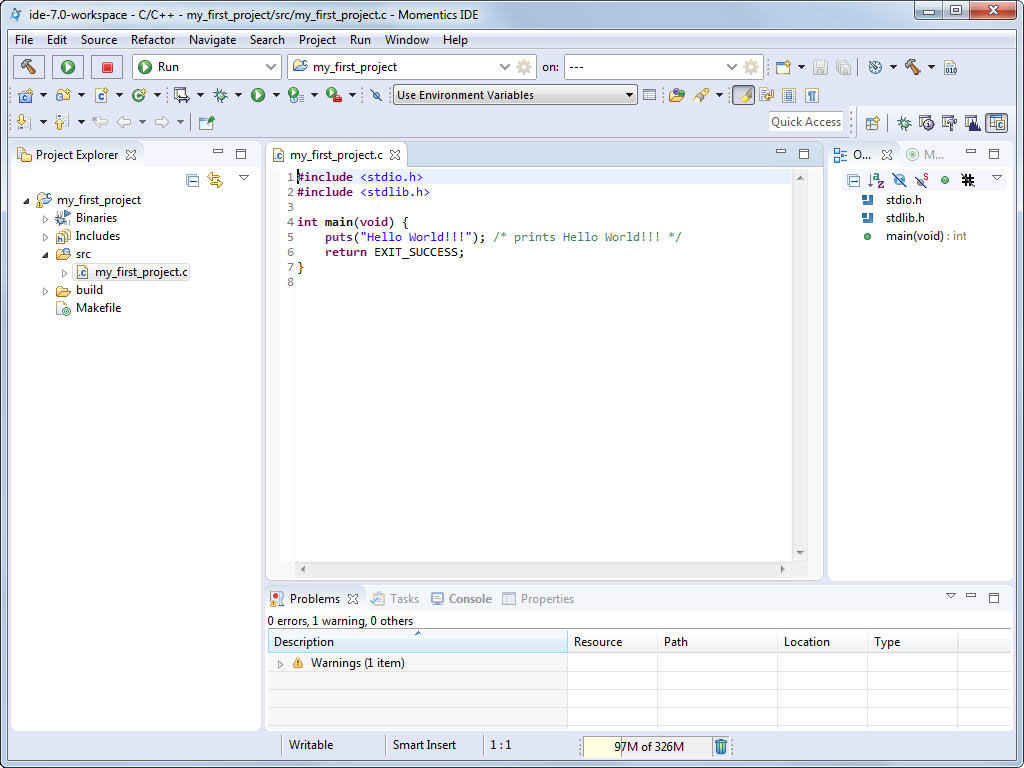
Click Finish. A ready-to-use project structure with a makefile is created for you, including a small program (“Hello World!!!”), which you'll find in an automatically generated source code file.
The IDE now switches to the C/C++ perspective, which features the navigator, the editor, and
other useful views, areas that display information that's relevant to the task at hand: