This example walks you through the end-to-end process you follow when using the HTML5 SDK tools to create,
edit, and package and application, then install and run it on a target.
To create a basic HTML5 app template:
-
In a command prompt, navigate to the [location where you installed the HTML5
SDK]/html5sdk/cordova/cordova-qnxcar/bin directory.
-
Run the Cordova create command to create an HTML5 project. For more information
about using the create command, see Creating an HTML5 project.
For example, on a Windows machine, type the following in the command-line prompt.
On Windows:
create [directory to put your project]\myfirstapp myfirstapp com.mycompany.myfirstapp
Linux:
create [directory to put your project]/myfirstapp myfirstapp com.mycompany.myfirstapp
-
Navigate to your project directory specified in the previous step, edit the app's start page, and
change the existing <meta name="viewport"...> line to the following line to
prevent pinch and zoom on the app. Usually the start page is the www/index.html
file.
<meta name="viewport" content="width=800, height=480,
      initial-scale=1.0, user-scalable=no"/>
-
Below the <title>Hello Word</title> line, add an event to display
simple text on the onReady() event occurs. For example, add the following code:
<script type="text/javascript">
            function onReady() {
                document.body.innerHTML = "HELLO AWESOME HTML5 WORLD!";
            }
            window.addEventListener("load", function (e) {
                if (window.cordova) {
                    document.addEventListener("deviceready", onReady);
                }
            }, false);
 </script>
-
(Optional) Navigate to the parent directory of your project folder and add any additional Cordova
plugins to your project using the plugman install command for any features you
want. The Plugman command is required to manage plugins for your project. For
more information, see "Managing
plugins." For example, add the provided demo project plugin.
On Windows:
plugman install --platform blackberry10
                --project .\myfirstapp --plugin .\demo\com.qnx.demo
On
Linux:
plugman install --platform blackberry10
                --project ./myfirstapp --plugin ./demo/com.qnx.demo
-
Modify the config.xml to configure app behavior and add access permissions. In
the config.xml file, add the following text. You can also put a
human-readable string (e.g., myfirstapp) for the <name>
element. The string that you provided is what is shown on the screen when the HMI loads your app. If
you added the plugin above, the plugin should be added as a <feature> entry in
your config.xml:
<name>myfirstapp</name>
...
<access subdomains="true" origin="www.qnx.com" >
<access subdomains="true" origin="file:///SDCard" />
-
As you code and modify your project, you can build your project. To build, run the
build command from the cordova folder in your project.
Optionally, when you build use the debug option:
To build using debug command:
build debug To build without the debug
command: build.
The generated
.bar file for a target is located at:
On Windows:
[location of project]\build\device\qnxcarapp.bar
On Linux:
[location of project]/build/device/qnxcarapp.bar
Note: To find .bar files to install on VMware images, look in the
[location of project]/build/simulator
directory .
-
Transfer the .bar file to your target and install it using one of these
options:
-
If your target has an HMI, then you should see the app appear. To run it, tap the icon representing
your app. Otherwise, you can launch the app from command line using the launch
command:
# launch myfirstapp
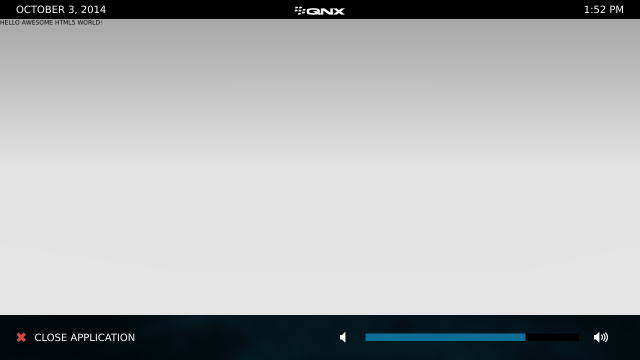 Figure 1. A screen showing the text output by the HTML5 "Hello World!" program
The create command generates the folder structure for your project at the
specified location (for the example above, the hello directory). For more
information about the create command, see Creating an HTML5 project.
Tip: The app is essentially an arrangement of web assets that are packaged into a container.
You can use a browser to view your app.
If you find that you require functionality not available, such as accessing a PPS object you created,
you can build a custom Cordova plugin. For information about creating a simple Cordova plugin that
uses PPS, see "Creating Custom Cordova Plugins."