Installing QNX QDF and Qt Creator

QNX Qt 5.3.1 Development Framework (QNX QDF) is a package containing the Qt runtime needed for building Qt apps. Qt Creator is the IDE that you use to write, debug, and build the apps. You need to install both components before you can develop Qt apps for QNX Apps and Media systems.

To install the Qt development tools on your host system:
  1. Locate the Installation Note applicable to your host OS by visiting our website, www.qnx.com, and going to the QNX SDK for Apps and Media 1.1 Download area.
    To find the right documentation for your host, look for headings with names similar to "QNX Qt 5.3.1 Development Framework (Windows Hosts)" or "QNX Qt 5.3.1 Development Framework (Linux Hosts)", then click See Installation/Release notes... to access the supporting documentation.
  2. Follow the instructions in the Installation Note to access, download, and install QNX QDF and Qt Creator.
    The installation dialog will prompt you for the directory to install Qt into, which we refer to as QT_BASEDIR. In this example, we use the default directory of C:\QNX-qt on a Windows host.
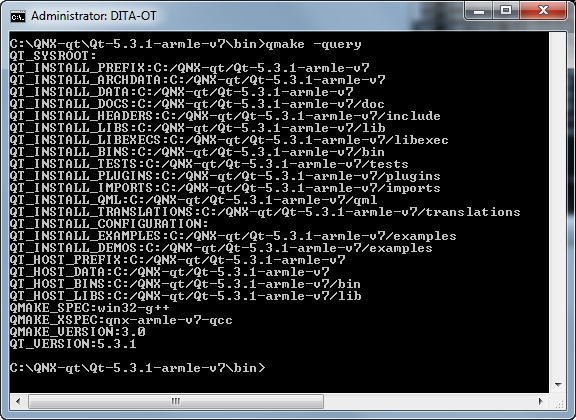
  3. Verify the correct paths of the QNX QDF build resources by opening an OS terminal, navigating to the location of the qmake version suitable for your intended QNX target, and typing qmake -query:

    The path of the qmake utility is QT_BASEDIR\Qt-5.3.1-variant\bin, where variant is x86 or armle-v7, depending on your target's processor type. Note that on Linux the directory separators would be forward slashes (/).

    In this example, we use a Windows host and a target system that has an armle-v7 processor, so we query the properties of C:\QNX-qt\Qt-5.3.1-armle-v7\bin\qmake.exe. Regardless of your host OS and target type, the paths of the build resources shown in the output should match the first few directory levels in the qmake path.

After QNX QDF and Qt Creator are successfully installed, you must configure a QNX device to represent your target system and a toolchain to define your compiler and debugger settings. The sections that follow explain how to do this.