Unlike C/C++ projects, QNX C/C++ projects rely on the QNX recursive
Makefile system to support multiple CPU targets. (For more
information about the QNX recursive Makefile system, see the
"Conventions for Recursive Makefiles and
Directories" chapter in the QNX Neutrino
Programmer's Guide.)
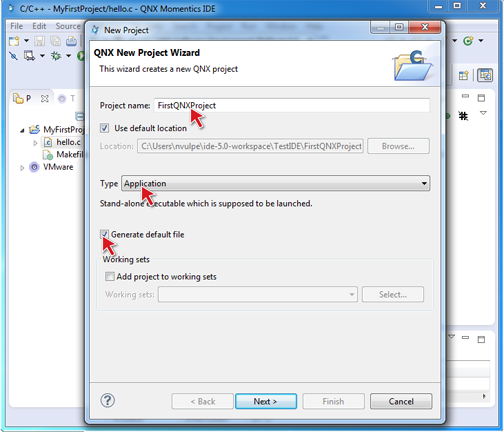
Follow these steps to create a simple QNX C (or C++) hello world project:
-
Name your project, then select the type (e.g.
Application).
-
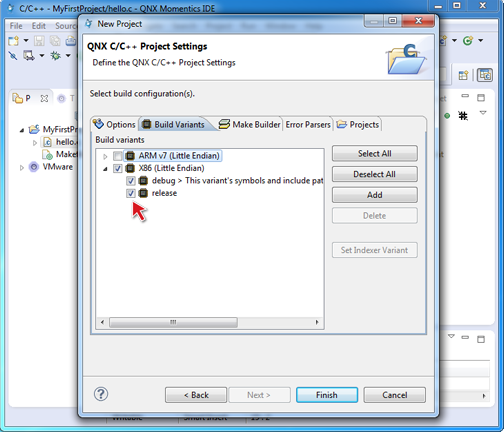
On the Build Variants tab, expand the build variant that matches your target
type, such as X86 (Little Endian), then select the appropriate build version
(release or debug—see
"Building an executable for debugging" for more
information).
-
Click Finish.
The IDE creates your QNX project and shows the source file in the editor.
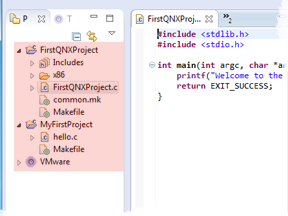
Congratulations! You've just created your first QNX project.
For instructions about building your program, see the section "Building projects".
Note: In order to run your program, you must first set up a QNX Neutrino target system. For details, see
"Preparing Your Target".