You must configure a QNX device to tell Qt Creator which target system your apps will be deployed onto. In the QNX Qt development environment, the target is your hardware board running QNX CAR 2.1.
To configure a QNX device in Qt Creator:
-
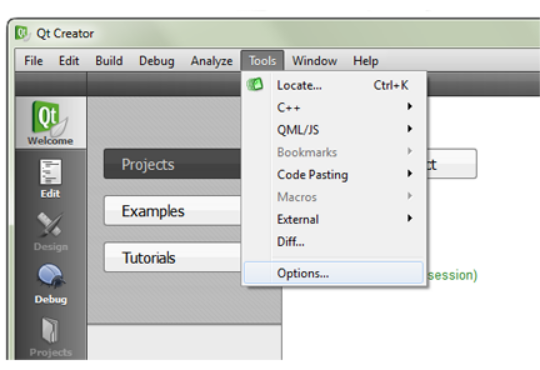
In the IDE, select the Tools menu, then click Options
to open the Options dialog.
-
Choose Devices in the left-side menu and click the Add... button
on the right side.

-
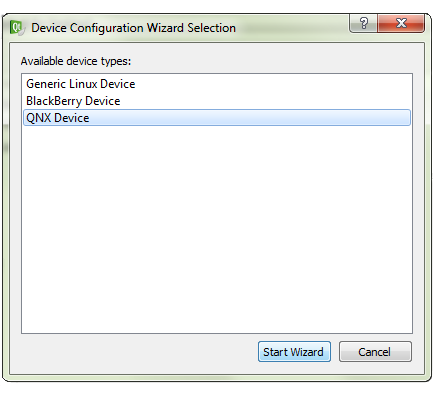
In the Device Configuration Wizard Selection dialog, choose QNX Device and click
Start Wizard.
-
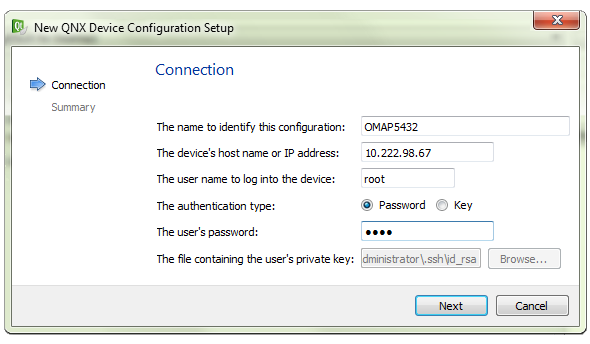
In the New QNX Device Configuration Setup dialog, fill in the connection fields:
-
On the summary page, click Finish.

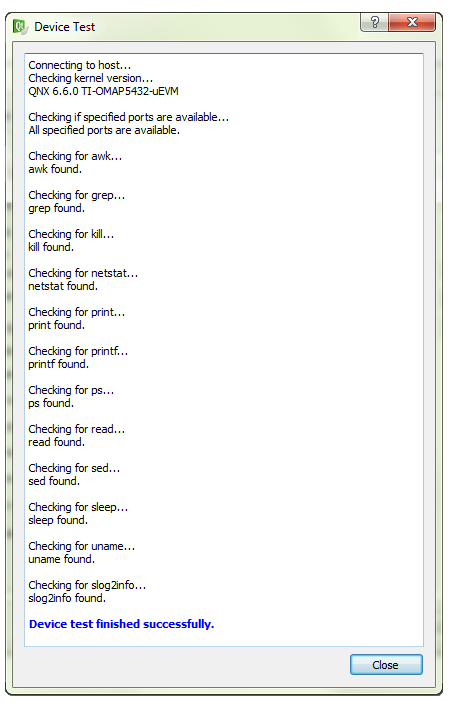
Qt Creator starts the device connectivity test, which entails connecting to the newly configured device and checking if the specified ports and certain key services (e.g., grep, awk) are available.
-
Examine the test results in the Device Test dialog, then click Close to
return to the Options dialog.
-
If the test failed, review the new device's connection settings (now shown in the Devices
tab) and fix any improper settings. You can then click Test (on the right side) to retest
your device (this action relaunches the Device Test dialog and you would then go back to
Step 6).

Qt Creator has a device profile representing your target system. You can now configure a toolchain.