Start the QNX Momentics IDE on your development host:
- on a Windows development host, choose from the Start menu, or run base_directory\run-qde.vbs from the command line
- on a Linux development host, run base_directory/run-qde.sh
where base_directory is where you installed QNX SDP. The first time you start the IDE, it asks you to choose a workspace, a folder where it can store your projects and other files. The IDE then displays its Welcome page. When you're ready to start, click the Workbench icon:
![]()
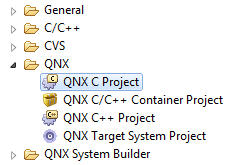
Now create a QNX C Project: from the File menu, select . In the New Project dialog, expand QNX, and then select QNX C Project:
Click Next. In the resulting dialog, give your project a name:

Make sure that Generate default file is checked, leave Add project to working sets unchecked, and then click Next.
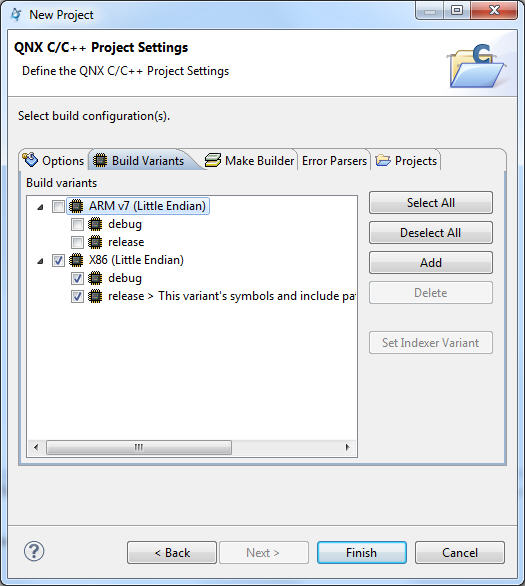
You now need to select a CPU architecture for the binary you're creating. To do this, go to the Build Variants tab. Select the appropriate CPU type: ARM or x86. You can also select compilation with or without debug information; we'll be using both later, so make sure the debug and release variants are both checked.
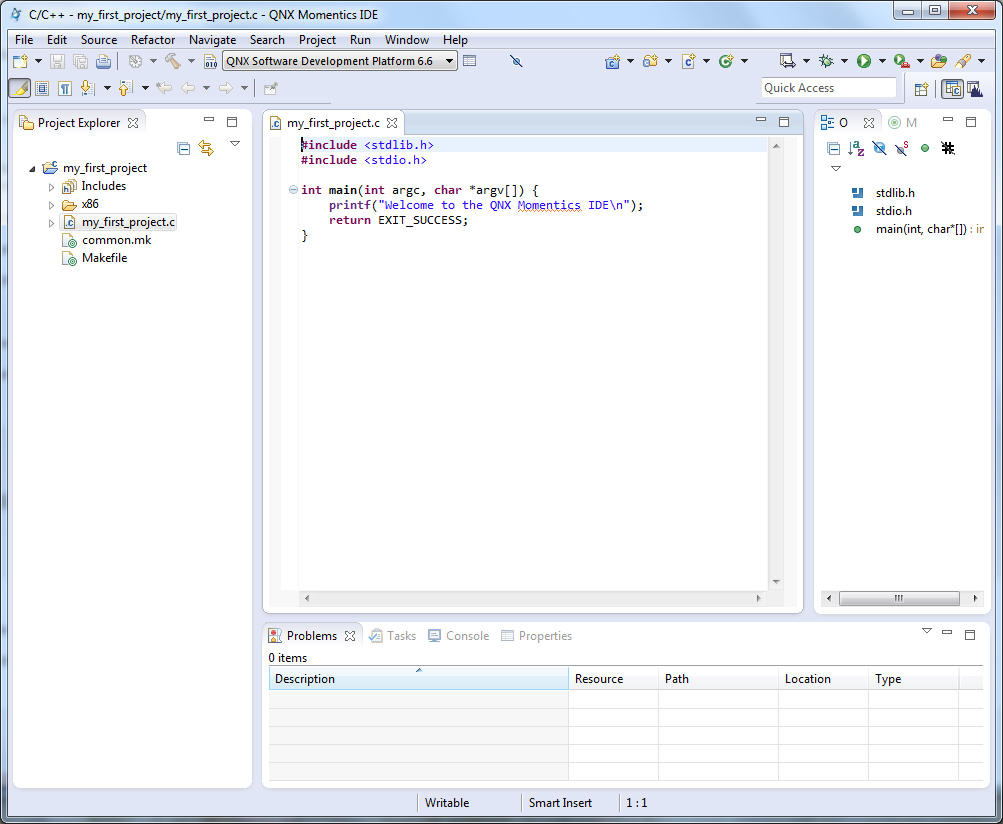
Click Finish. A ready-to-use project structure with a Makefile is created for you, including a small program ("Welcome to the QNX Momentics IDE"), which you'll find in an automatically generated source code file.
The IDE now switches to the C/C++ perspective, which features the navigator, the editor, and other useful views, areas that display information that's relevant to the task at hand: